


A New Practice: How to Start Sewing Clothes
Making Your Own Wardrobe is Powerful
A New Practice is a newsletter series that encourages you to start a new practice in your life. While I wouldn’t call myself in expert in many things, I am an avid practicer and jack-of-all-trades maker that’s never scared to start something new. I hope to offer you the freedom of being a beginner! Email cutting off this long post? Read the whole thing on Substack.
Garments & Madison
This section is an overview of my garment sewing practice.
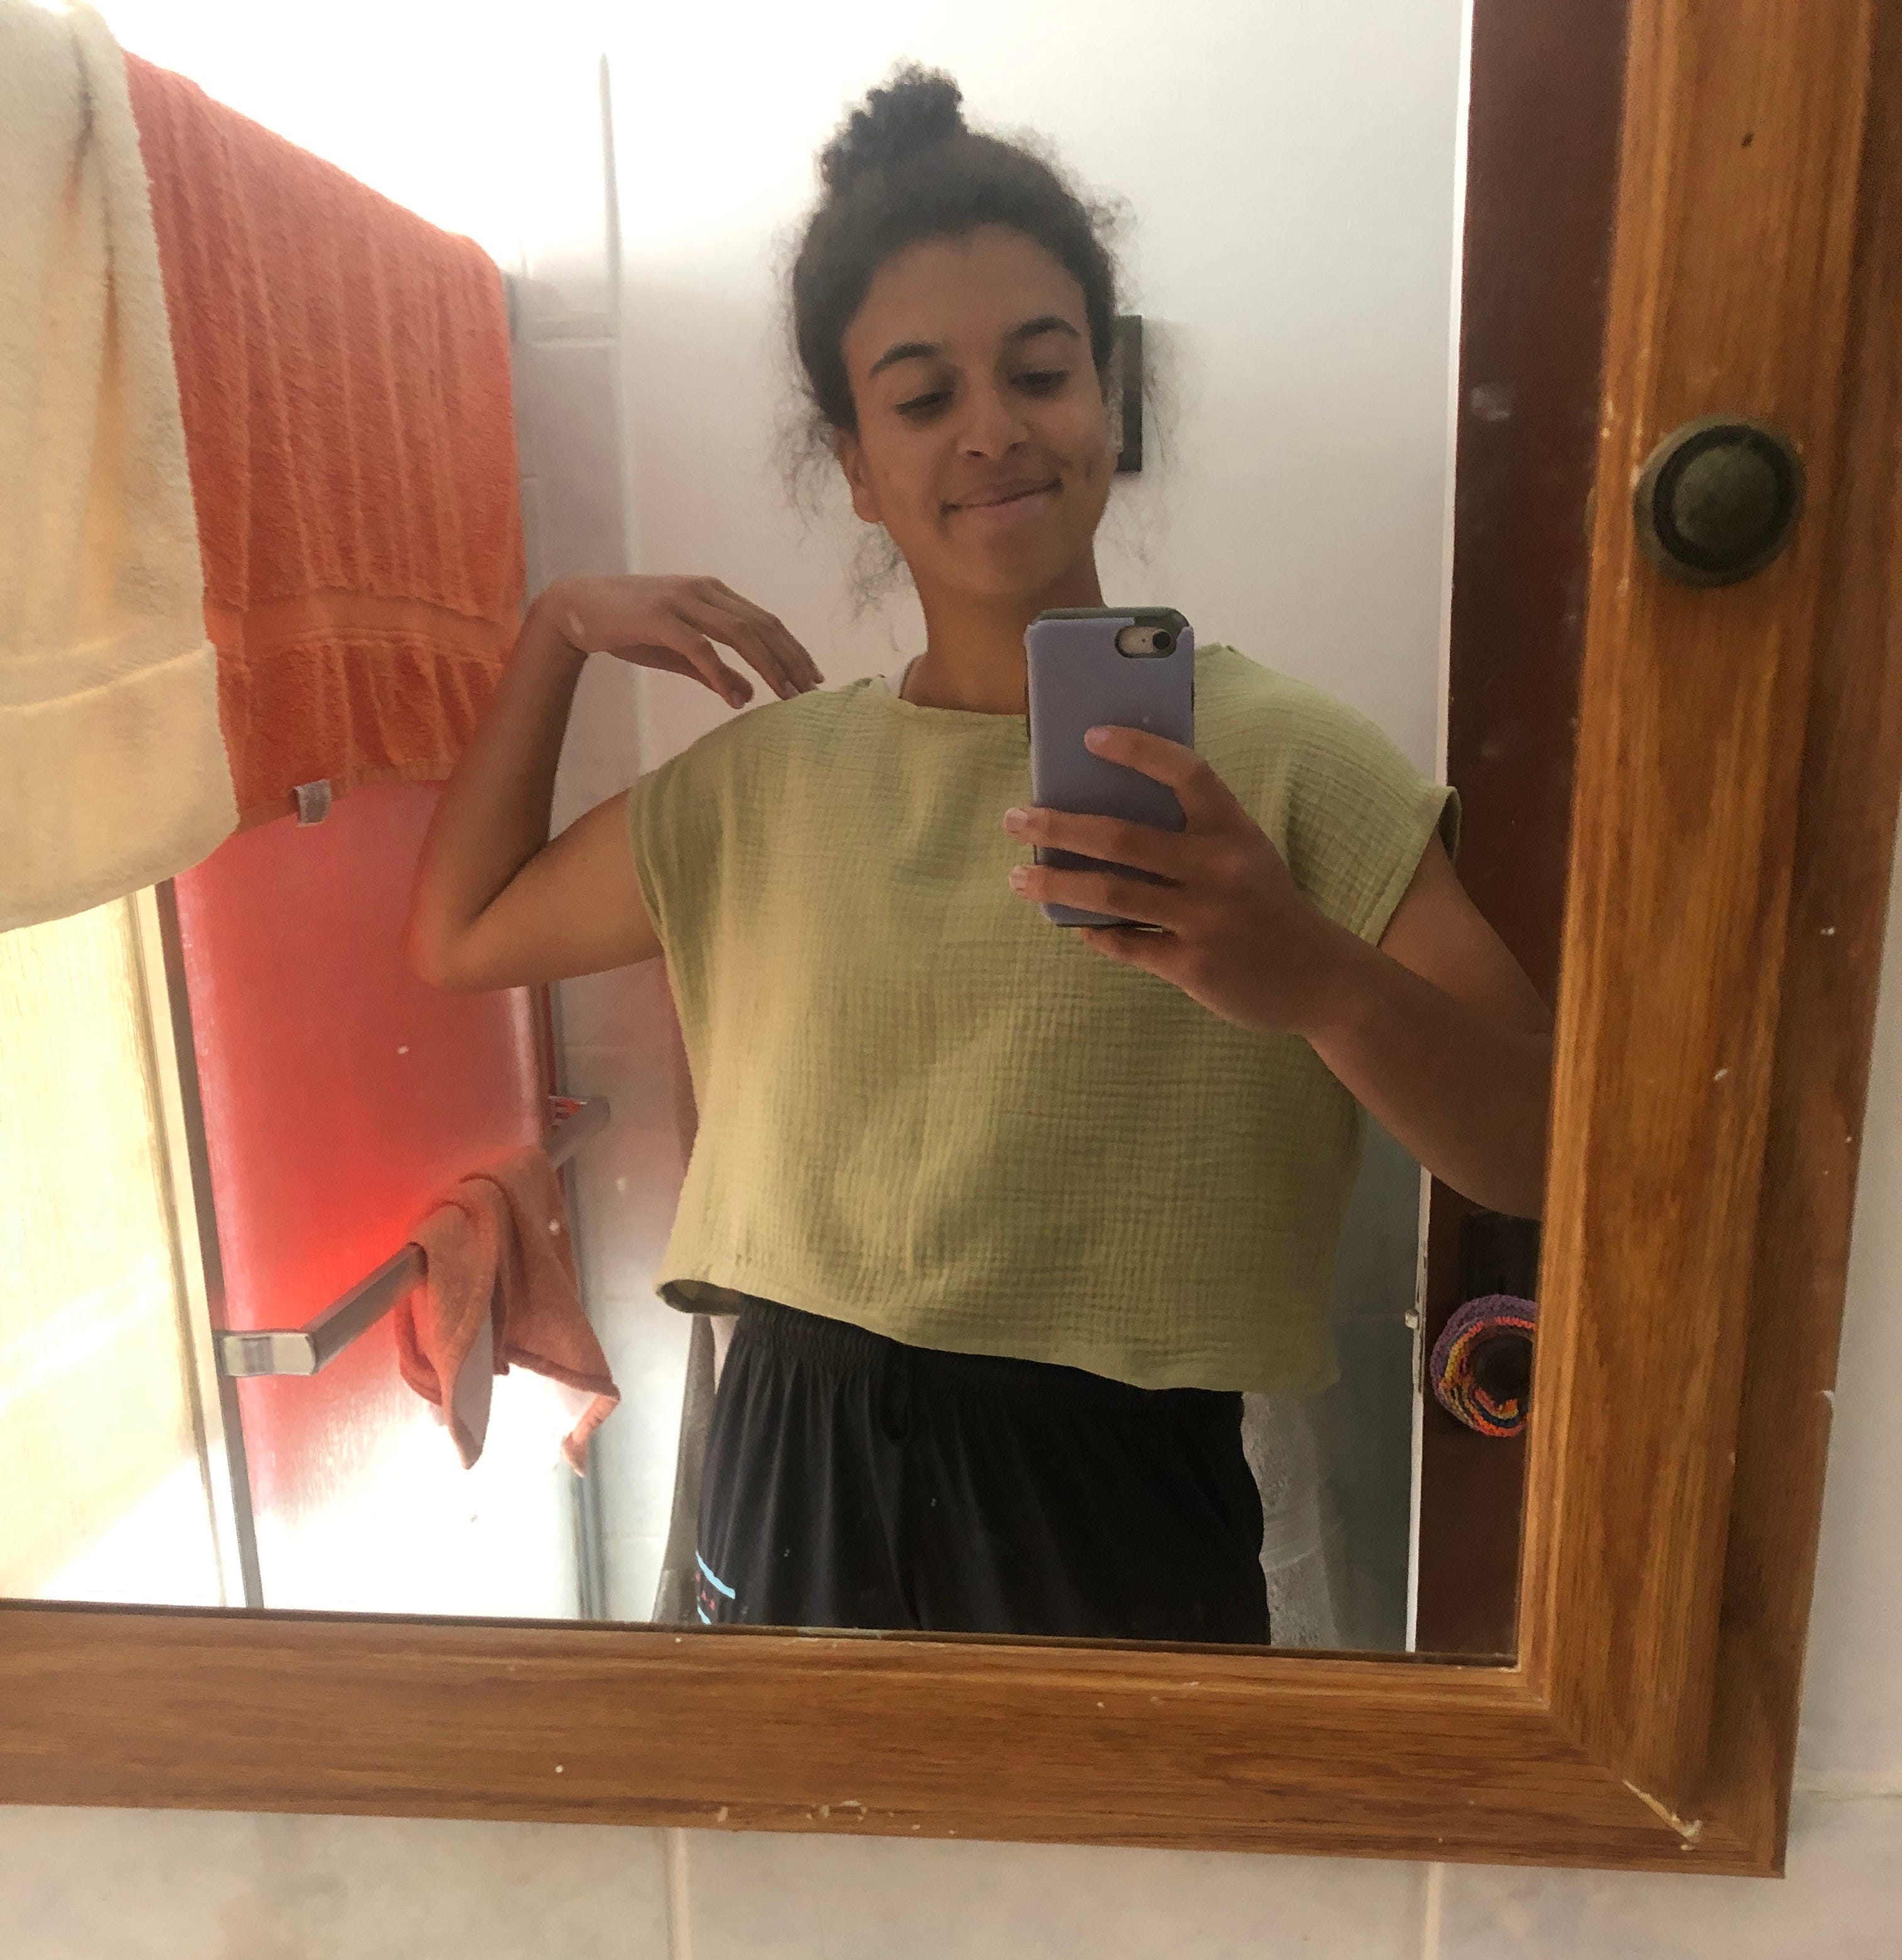
I started sewing clothes in 2022. It was a spontaneous and quick decision to try it after I started following a garment sewist on instagram.
Some context: I did already know how to sew on a sewing machine. I learned in middle school, then picked it back up again in college to sew scrunchies (which I did a lot of—more on scrunchies later!).
If you want to scroll through all the clothes I’ve sewn since then, you can deep dive on my instagram all the way back to that first shirt. I’ve made over a hundred sewn projects!
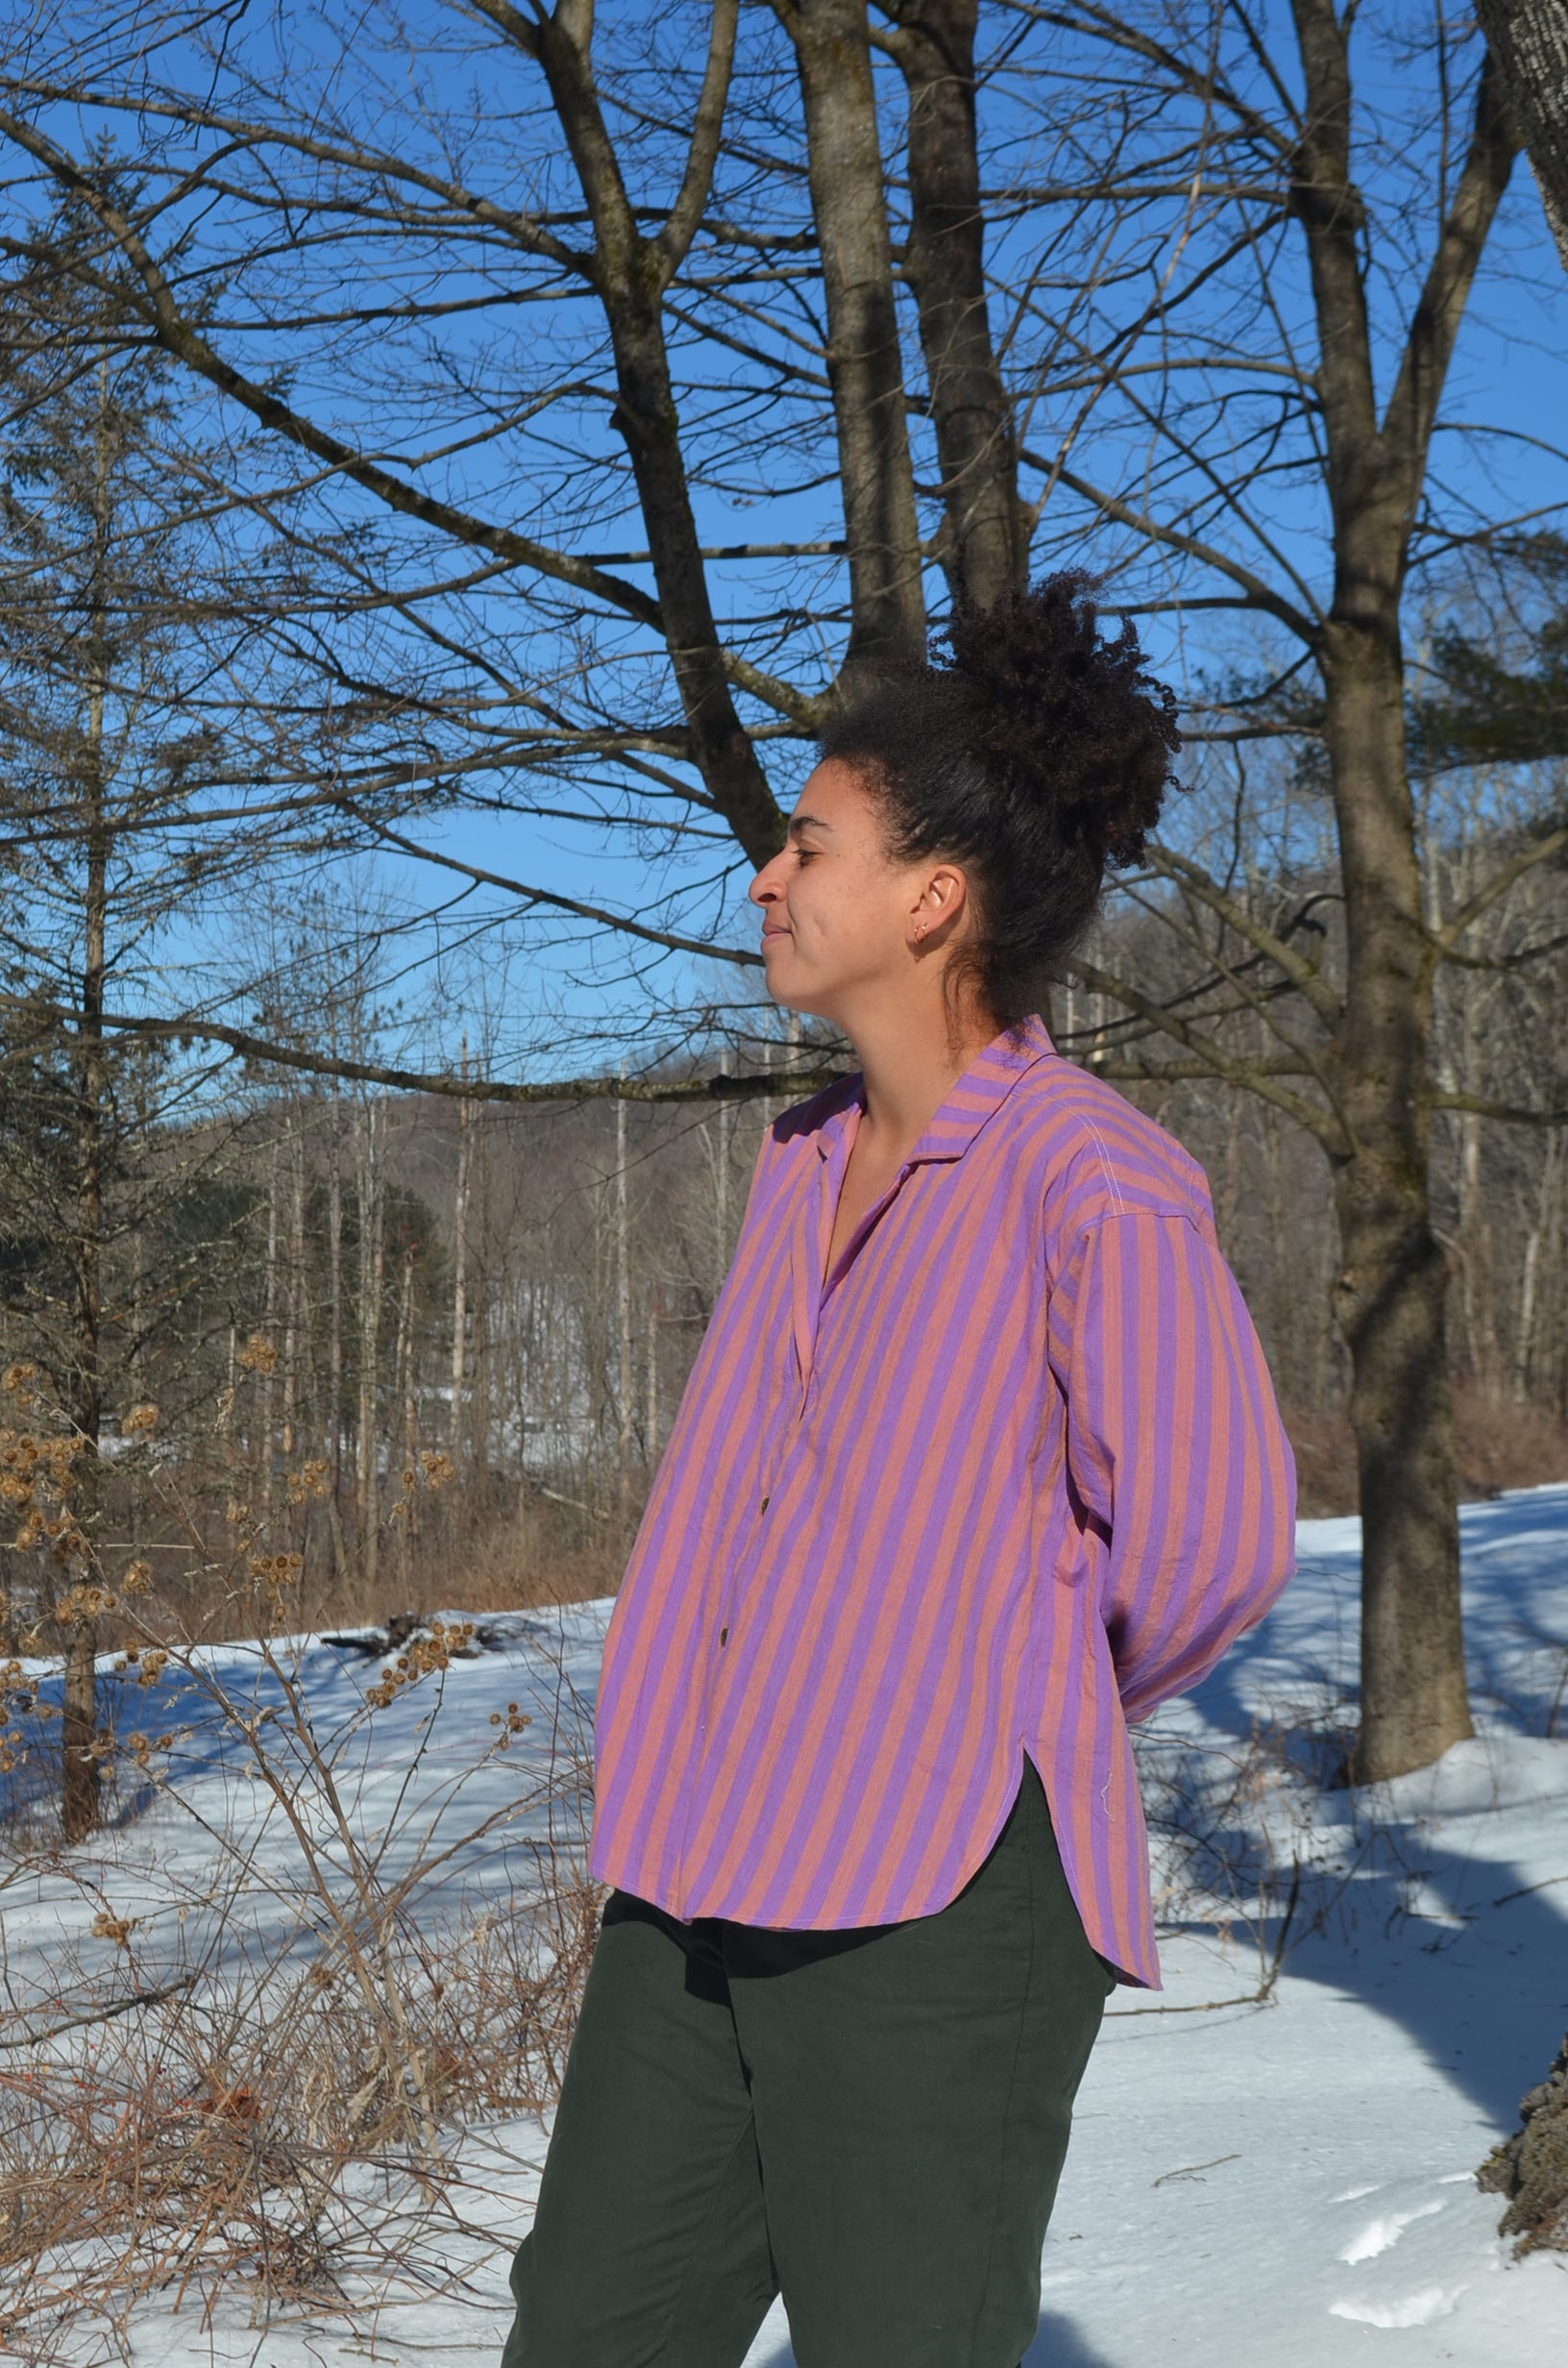
I don’t quite have a favorite garment, but here are some that I love through and through:


Sewing clothes is really an irreplaceable outlet for me. It channels a certain kind of creative energy that I have always had within me: one for making practical objects.
It also requires a different kind of motivation. You don’t have to reinvent the wheel or make a design completely from scratch. Instead, you can literally use templates and follow step-by-step instructions that tell you how to complete the project. It’s the best!
Tell Me About Sewing Clothes!
This section is an overview of the big picture process of sewing garments.
PATTERN SEWING
Most people sew clothes by following patterns. Patterns are templates and a set of instructions for putting the templates together. Traditionally, patterns were sold by a set of companies that people called The Big Four. The templates came printed on a tissue-like paper in an envelope you could buy at craft stores. But, these companies were actually just liquidated! So this method of purchasing patterns is (and has been) on its way out.
When I started sewing, indie patterns (aka patterns from independent designers) were already super popular online. 99% of the patterns I’ve sewn are indie patterns! You purchase PDF files online, then print or project them in your preferred way to cut them out of the fabric.

So, you just bought a pattern. (More on finding patterns later!) What’s next?

First, read the pattern (at least the stuff that comes before the step-by-step instructions). It will tell you about how the garment is constructed, how it’s supposed to fit, and any other information you might need to be successful with the pattern.
Pick a size (more on that in Your First Project, below) based on your body measurements and the size charts. Then, get the fabric you need. There will be a chart showing you how much you need for your size as well as information about what kinds of fabric work best for the project.
Next, prepare the pattern. PDF patterns often offer three options: large format files that have to be printed on by a copy shop or specialty printer, print-at-home files that can be printed on normal 8.5’’ x 11’’ paper, or projector files.
Most people start with print-at-home files. The pattern pieces will be divided on the small printer pages, and after you print them out, you follow a map in the instructions to tape the pieces of paper together (reassembling the pattern templates themselves). See Beginner Resources below for more on the other two types of pattern prep.
Once you have the pattern pieces ready, you can either cut out your size or trace your size onto specialty tracing paper. I cut my pieces out directly for years, but now prefer tracing paper (more on that in What Do I Need? below).
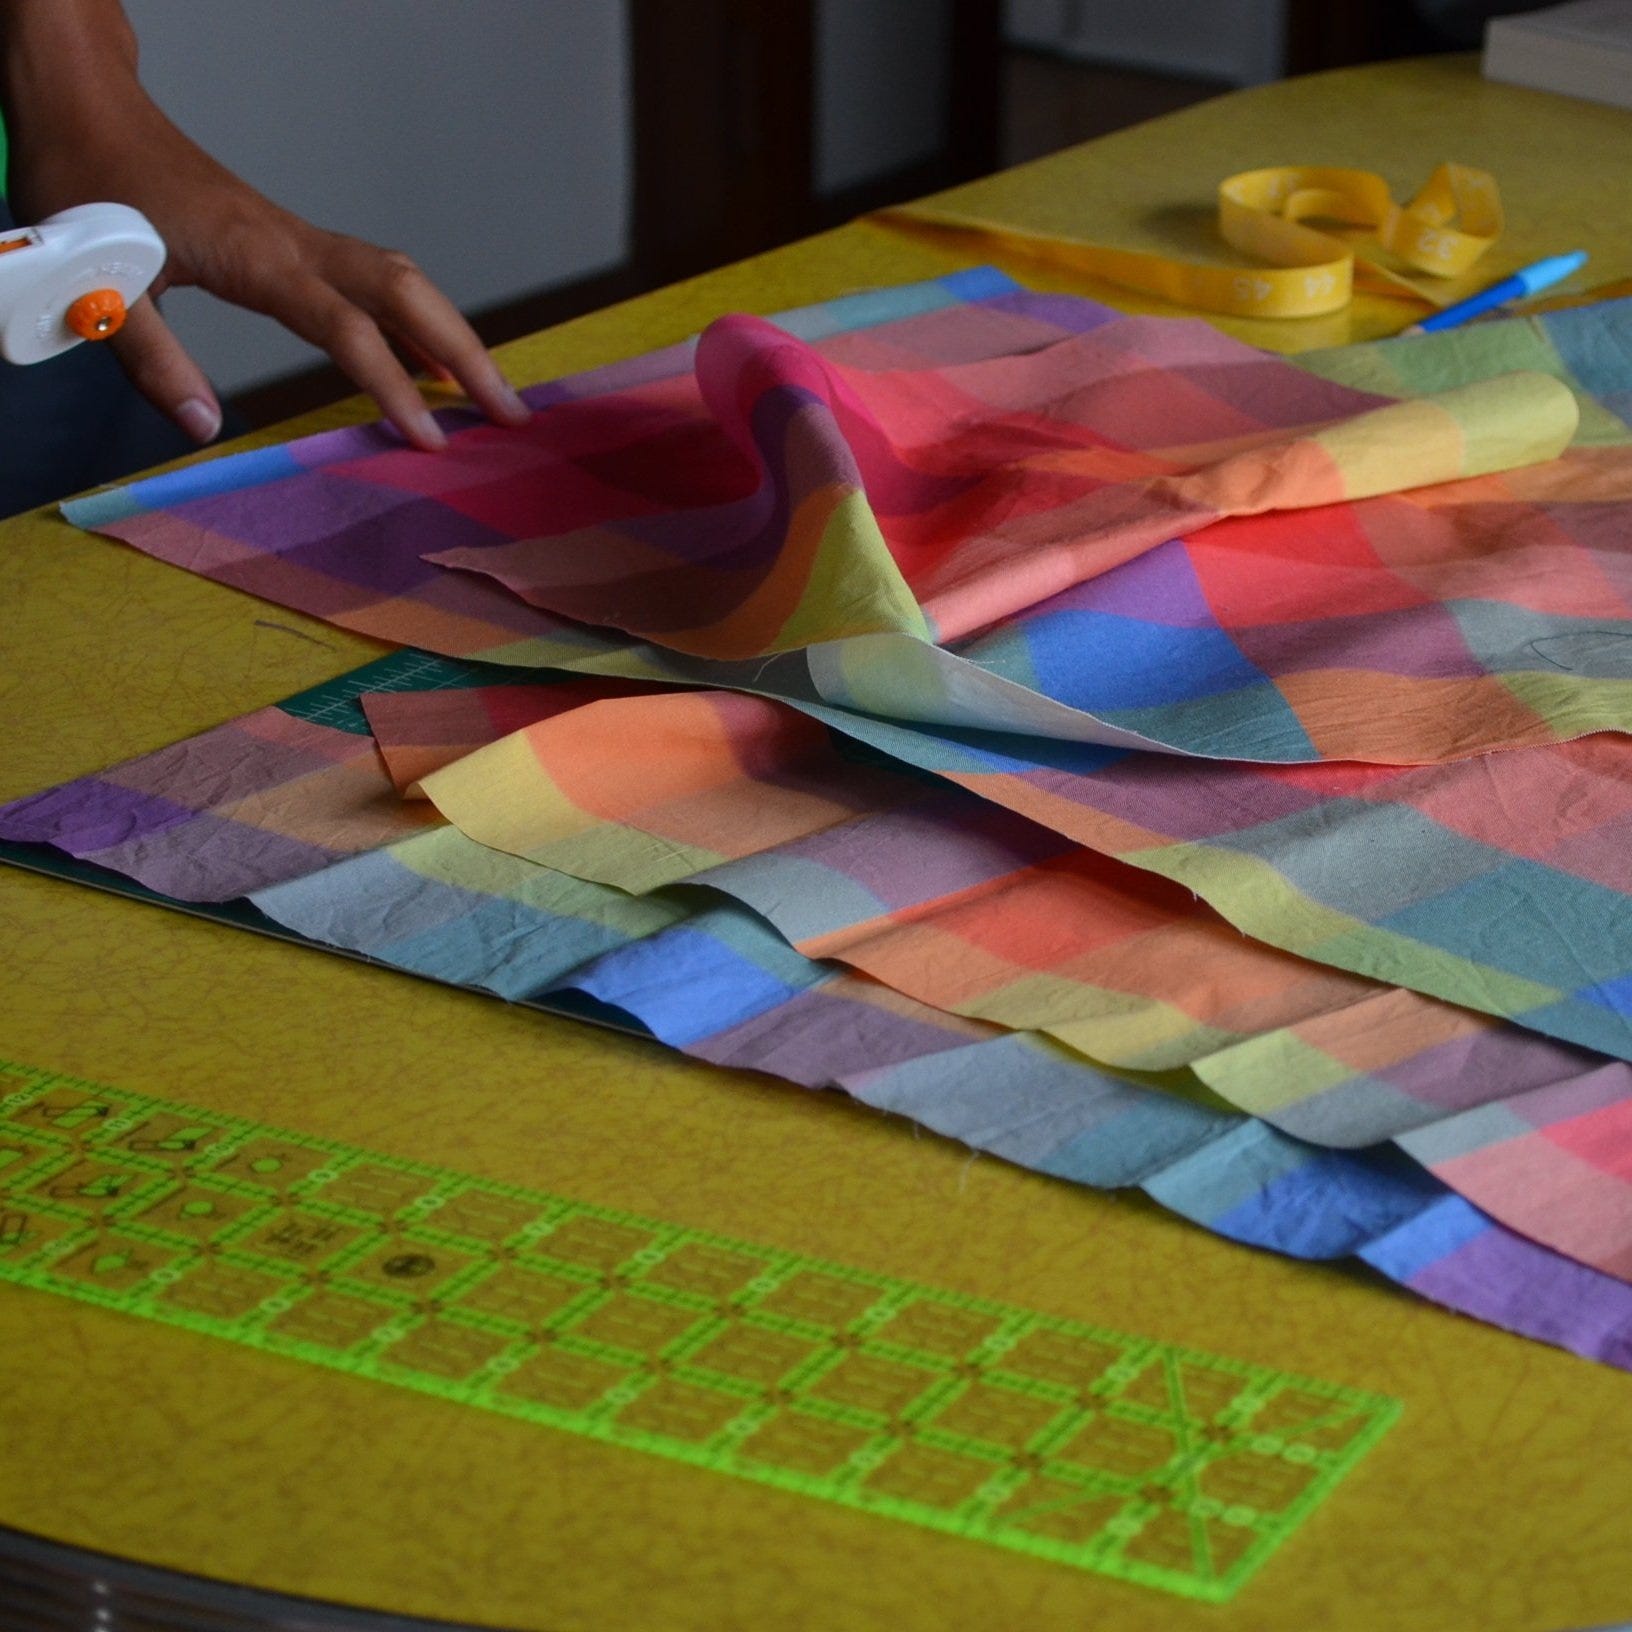
Fabric time! Place the templates onto the fabric, and following the instructions about how many of each piece to cut out, cut out all the shapes.

Now, follow the sewing instructions! Step-by-step, it will tell you how to assemble the cut out pattern pieces. Patterns are your best friend (though they vary in beginner-friendliness, and like everything, quality).
PATTERNLESS SEWING
There are some designers (and designs) that are designed using very simple shapes—primarily rectangles. There are also zero waste patterns that are designed to be cut out of a rectangle of fabric without leaving any waste fabric/fabric scraps.

While you might still purchase a pattern for a zero-waste design, it won’t actually include the pattern templates. Instead, it will instruct you to cut out these simple shapes using dimensions.
You may also follow online tutorials for patternless sewing (that is not zero waste), which use rectangles based on your body measurements to make projects from simple shapes.

Skirts and dresses, especially those with ruffles, are great candidates for simple patternless sewing. It can be a good way to try out sewing if you don’t want to purchase a pattern.
SELF-DRAFTING
You can also make garments drafted directly from your own body measurements.

Self-drafting your own projects is definitely a more advanced workflow, but you might decide you want to explore it after you sew a few projects! Whether you like designing your own projects or want to just make sure you’re getting the best possible fit, you may want to learn how to create your own bodice and/or pant block.
A Day of Garment-Making In Summary
In short, to make a project you will:
Pick a project & fabric
Choose a size (and maybe test that size - see more on fitting in Your First Project)
Prepare the pattern pieces
Cut the pattern pieces out of the fabric
Follow the instructions to assemble the garment (sewing, ironing, and finishing seams)
What Do You Need?
This section is explains the tools and materials that are required to sew.
SEWING MACHINE
I have always sewn on a Singer Heavy Duty 4423 machine. I bought it on sale when I was in college, and it’s still kicking! I hope to upgrade in the near future, but I think it’s a great starter machine. That being said, use whatever machine you have access to! Borrow one from the library or a friend. Look for one used (as long as it still works). Or, purchase something reliable and affordable and simple.
It should be able to sew a straight stitch and a zigzag stitch at minimum, though some sort of buttonhole capability will eventually be important. Every machine will have a slightly different mode of operation. Read your machine’s manual or look up specific instructions for setting your specific machine up.
BASIC SEWING TOOL BOX
Measuring Tape (soft/flexible): For taking your own body measurements
Fabric Scissors and/or Cutting Mat & Rotary Cutter: For cutting out pattern pieces and trimming threads
Marking Tool: For drawing marks onto the fabric (should be washable or heat-erasable)
Seam Ripper: For ripping out stitches when you make a mistake
Pins or Clips: For holding together the fabric while you sew seams
Iron: For ironing fabric, pressing seams, and shaping the garment
FABRIC

There are so many kinds of fabric! It can be overwhelming when you’re first beginning to sew. The most important thing to know is the difference between woven fabric and knit fabric. The difference between them is in the name: knit fabrics are knit together, which gives them stretch. Think about t-shirts, sweatpants, activewear, swimsuits: all those garments use stretch knit fabric. Woven fabric is woven together, and has no (or very little) stretch. Woven fabric frays when it’s cut, and knit fabric does not. Either fabric type can be made from a huge variety of fibers: cotton, linen, bamboo, synthetics, blends, etc.
Woven fabric is easier to work with. Knits are not that much more complicated, but they do require an additional learning curve. So, for your first garment, make sure you’re choosing a project that uses woven fabric.
Next, look for cotton, linen, or a blend of those two fibers. I find they’re easiest to work with, and there are so many options. Cotton wovens are my favorite fabrics overall! Make sure you’re also looking at garment fabric. Quilting cotton or upholstery fabric will not make for a good piece of clothing. Most fabric shops will give you a descriptions for how to best use the fabric. Read what the pattern recommends for fabric weight, too, and compare that before you buy.
If you decide you want to make a fit test (see Your First Project, below). You also need a fabric for that. Look for a lightweight woven cotton fabric called muslin.
Or, use what you have! Sew a test (or first project) with a bedsheet, thrifted tablecloth, etc. Just make sure you’re starting with a woven fabric project.
INTERFACING
Many garments require fusible interfacing. This is a woven material that can be attached to fabric with the heat of an iron. It provides additional structure and stability to parts of a garment like a collar, button placket (where the buttonholes go), or cuffs. I use Pellon Fusible Interfacing.
PATTERNS
Because pattern sewing is the most accessible way to start sewing clothes, you need a beginner pattern! Most patterns will list a skill level, and that can help you decide whether it’s a good fit.
My recommendation would be start with a sleeveless shirt and an elastic waist pair of pants or shorts (in that order).
While there is a whole list of my favorite pattern designers below, here are some very accessible beginner options:
Tops:
All Well Box Top by All Well Studios (my first garment project!)
Laurence Top by Vivian Shao Chen (choose the sleeveless view)
Ruby Vest by Sydney Graham
Bottoms:
Pomona Pants by Anna Allen (I have made these pants a bunch, but there are also dozens of elastic waist pants if these don’t strike your fancy!)
Lane Pants by Sydney Graham (I haven’t made these, but I hear great things!)
OPTIONAL: Tracing Paper - Once you have the printed pattern in front of you, you can cut your size directly out of the paper and use those pieces. Or, you can trace your size with tracing paper, using the paper pattern intact. I have recently switched to using tracing paper, which is neater and allows you to preserve the pattern pieces and sew a different size later if you want!
Your First Project
This section gives you a walkthrough of starting your first project.
Note that this advice only applies if you know how to use a sewing machine! If you’ve never sewn at all, scroll all the way down to BEGINNER RESOURCES for advice on a first project!
Project Planning
Before the day you want to sew, you need to:
Pick a project
Measure yourself
Buy the pattern & get it printed
Buy or obtain fabric
I think now is the time to introduce you to Threadloop. This website is a hub for organizing sewing projects and discovering/browsing patterns. I 100% recommend that you make an account and start tracking your projects, fabric purchases, and dream projects on the platform!

Now it’s time to measure your body. Accurate measurements are the foundation to making clothes that fit your body. Here is a great guide to taking the measurements most sewing patterns will need. Every single sewing pattern designer will use a different size chart. Having your accurate measurements that you can use from pattern to pattern is crucial! Take your measurements without judgement or fear—this is the beginning of making clothes that fit you.
Buy the pattern you’ve decided on. Read it, review the measurement charts, and write down your size. Print the pattern out, and if needed, assemble it. Cut the pieces out or trace them and cut them out.
Browse your local fabric store or one of the online options listed Beginner Resources (below). Obtain enough fabric for your size. If the pattern you chose requires any other supplies, aka notions, like buttons, a zipper, interfacing, elastic, etc—make sure to get those too.
Project Prep
Now that everything is ready, you’re about to start cutting into the fabric! Let me first make a note on fit tests—often called toiles or muslins. You make the garment in a cheap fabric in order to test the fit of the size you chose.
When I first started sewing, I never made toiles. I’m also going to recommend that you don’t make a toile for your first project or two at least. While I have found a place for them in my practice (see Madison’s Advice, below), they are boring to make and usually not necessary if you chose the kind of beginner-friendly project I recommended. I want to streamline your first project so you get hooked making clothes! As long as your body measurements are accurate and matched to the project’s size chart, your first garment will fit well enough.
Now it’s time to cut out the fabric. Following the pattern instructions, cut out each pattern piece. Make sure the fabric is ironed flat and without wrinkles before you cut. There are a few pieces of lingo for cutting that you may be unfamiliar with:
Grainline: Most pattern pieces have a grainline arrow which is an arrow that should be aligned with the direction of the fibers in the fabric (usually parallel with the non-fraying edges of the fabric called selvedges). At the simplest level, make sure all the pattern pieces are aligned with the grainline arrows facing the same way.
Cut on the fold: Many pattern pieces indicate that they should be cut on the fold (or through two layers). If a garment needs two of the same pieces (like sleeves) or a symmetrical piece (like the back of the shirt), it’s efficient to cut those pieces on two layers of fabric. Fold the fabric in half. Align any cut on the fold marks with the fold in the fabric. Do not actually cut the folded part of the fabric—you will unfold the piece into double the size of the paper template. Other pieces cut through two layers can be placed anywhere on the fabric. Note that any pieces cut through two layers of fabric will be mirror images of one another.
Notches/Pattern Marks: Many pattern pieces will have marks you should transfer to the fabric using your marking tool. Then, you’ll use the marks as reference points when assembling the garment. You can also snip 1/4’’ into the fabric at the marks instead of drawing them.
Sew the Pattern
Because you’re following a pattern, it’s time to let it take the wheel. Follow the instructions step-by-step to assemble the garment. There will be illustrations to guide you! You’ll find once you get going that a lot of sewing garments is actually finding ways to finish seams—aka conceal or stitch them so that the fabric won’t fray while you wear the garment. In addition:
Pay attention to the seam allowance (it can sometimes vary throughout a project)
Pay attention to the right side and wrong side of the fabric
Never skip ironing/pressing seams
When in doubt, finish fabric edges using a zigzag stitch that drops just off the edge of the fabric, encasing the fraying edges
If you’re really lost, look up a tutorial for that technique or a walkthrough for the garment you’re making! Many designers or sewists in the community post supplemental information about popular patterns
You’ve Got a Garment!
When you’re finished, you officially just added a new piece of clothing to your wardrobe! I recommend wearing it all the time. After a few days, it’s worthwhile to evaluate the fit.
Is it the right size but uncomfortable or awkward to wear? Is it too big or too small? In just one area or another? Does it feel like you? If not, is it the fabric or the garment design?
Asking yourself questions about the project will set you up to plan, prep, and sew the next garment!

Madison’s Advice
This section is full of my personal garment sewing advice about building a practice.
Fabric Selection is Key to Success
It takes a little bit of time to start developing a vision for matching a fabric with a pattern. Having the right fabric matters from both technical and stylistic perspectives. The wrong fabric for the job from a technical perspective will be hard to sew, may not hang right on the body, could feel uncomfortable, and might even affect the fit. Stylistically, you might find you actually don’t like a color or a floral print or a wide stripe. It takes some time to develop a look you like, and that’s okay. Don’t let it hold you back from trying things (and maybe venturing outside your comfort zone!).
Make sure you’re paying close attention to the pattern’s specifications. It’s also helpful to look at other sewist’s projects! Search the pattern’s hashtag on Instagram or look on Threadloop!

Find Your Level of Perfect
Sewing has nearly limitless potential for perfection. There is an exact right way to sew things together so that they look exactly perfect. But, there are so many degrees of success outside of that exactly perfect outcome. Of course, this doesn’t mean that your project will work out if you completely ignore seam allowances and choose the wrong size. But, if things are a bit off, you might choose to be totally okay with it!
I personally don’t need perfect! If a seam has a little pucker, I don’t sweat it. Sometimes, I don’t even notice it. Find what level of perfect makes you happy, and use that as your standard. Striving for perfect on your first go is a dangerous way to lose sight of the fun of being a beginner.
Fit is Foundational
Fit was not something I thought a lot about in the beginning! It’s still not the #1 most important thing on my mind when I sew, but it is at the forefront. In the long-haul, the clothes that fit best are the clothes you are going to wear most. While I still don’t recommend over-stressing a “perfect” fit, you’ll learn that there are some garments that are harder to fit than others, and comfort matters.
Sometimes fit is just a matter of evaluating whether you like the way a pattern feels on your body, and not a factor of size or execution. It’ll take time for you to learn what styles are comfortable and make you feel good.
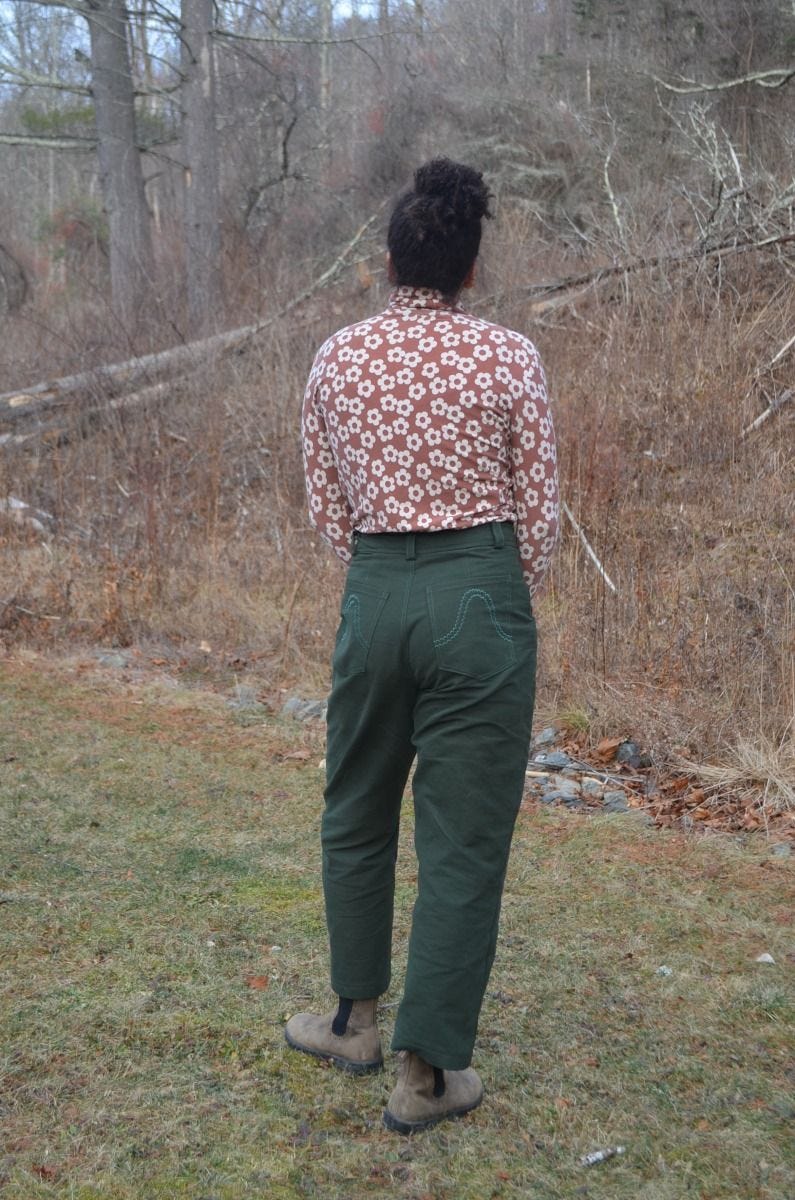
But, other things, like pants with zip-flys, are universally hard to fit without making adjustments specific for your body. I now do a toile for all pants like this (I like fitting using the top-down-center-out method) so I know that the pair I make in nice fabric will fit. At some point, you may reach a frustration point with how your garments are fitting. It’s worth making a test-fit garment if you’re not getting the results you want.
I don’t toile with other garments (like dresses and tops) where the fit does not need to be as precise to be comfortable.
Style Comes With Time
Sewing your own clothes is a lot different than shopping! It will take experience to pick the right fabrics and the right patterns. It will also take money (probably!).
Be patient with yourself. Collect inspirational images that can help you make decisions about what you like. Look at your favorite ready-to-wear (store-bought) garments in your closet and look for similar style patterns. You may find when you start sewing clothes that your style is something completely different than what was available or advertised to you by shopping in stores. That’s great!

Building a Wardrobe
A few years in, I am closer and closer each month to having a totally me-made wardrobe. While I still sometimes pick up a garment at a flea market, I haven’t bought a RTW garment off the rack in literal years. I never want to lose the creative freedom, comfy fit, anti-shopping mindset, and understanding of the value of clothes-making labor that sewing has brought me.
If you want to build a me-made wardrobe, I recommend making a combination of practical and dreamy projects. What do you need to wear on the everyday? Clothes for work? Clothes to work outside? Lounge clothes? Make those 60-70% of the time. For me, that was warm turtleneck base layers, cotton underwear, everyday pants, and work overalls. (Yes, I learned to sew with knit fabric really early. It’s not too scary, and I recommend it!).
Then, plan out the projects you want to have somewhere to wear. Make those 30-40% of the time. Then, wear those dreamy projects (for me, dresses, blouses, endless overshirts)! Much of the time, the restrictions of what we can or should wear at any given time are ones we put on ourselves.
Once you start sewing, the sky is really the limit. You will find the possibilities for customization are endless!
Beginner Resources

WHERE TO SHOP
PATTERN PRINTING: Instead of printing patterns at home, I get them printed in large format by PATTERN PRINTING CO so I don’t have to assemble the pages. It saves a lot of time, and is worth the money to me. I also hope to set up a projector to eschew paper altogether, but you’ll have to do your own research on that for now.
WAWAK is the best online store for purchasing sewing tools and notions. They have pretty much everything! Look at Etsy and in-person for fun notions like buttons.
FABRIC STORES (my favorites)
PATTERN DESIGNERS
WHAT TO READ
Want to learn something more niche? A book is a great way to get a full introduction to a new kind of garment.


Or want a more detailed guide to every part of sewing? There are lots of those too (just don’t let them overwhelm you or hold you back!).


NEVER SEWN ANYTHING AT ALL?
If you’ve never sewn at all but still dream of sewing your own clothes, fret not! You just need a couple easy intro projects to get you familiar with your machine. Still read this post! Then, after reading the manual or watching some set-up videos, start with the below beginner projects:
HOW TO SEW A SCRUNCHIE (or a couple dozen!)
Have questions I didn’t answer? Leave them in the comments! I can’t wait to see what you make, or hear about your new practice!
Wow! As a fellow sewist, this is an amazing resource and I love how you’ve distilled down a larg, complex topic into the essentials. Thank you so much for taking the time to write this, I will definitely bookmark it to share with friends who express interest in garment sewing!
I think it is well written and if I were about to start sewing this is what I would read. Well written, comprehensive and not overwhelming!