

A New Practice: How to Start Knitting
Stitching up Heirlooms
A New Practice is a newsletter series that encourages you to start a new practice in your life. While I wouldn’t call myself in expert in many things, I am an avid practicer and jack-of-all-trades maker that’s never scared to start something new. I hope to offer you the freedom of being a beginner! Email cutting off this post? Read the whole thing on Substack.
Me & Knitting
I started pandemic knitting in 2020, which I’m sure is a common story. Some of my friends were doing it, and I decided to give it a try. For some reason, I was drawn in by knitting socks, so that’s where I started.
These socks were the first thing I knit. I don’t know the pattern, and I’d never heard of gauge (see more on this later), so they’re giant! Emilio has been wearing them over normal pairs of socks like slippers for five years (hence the holes 😂).
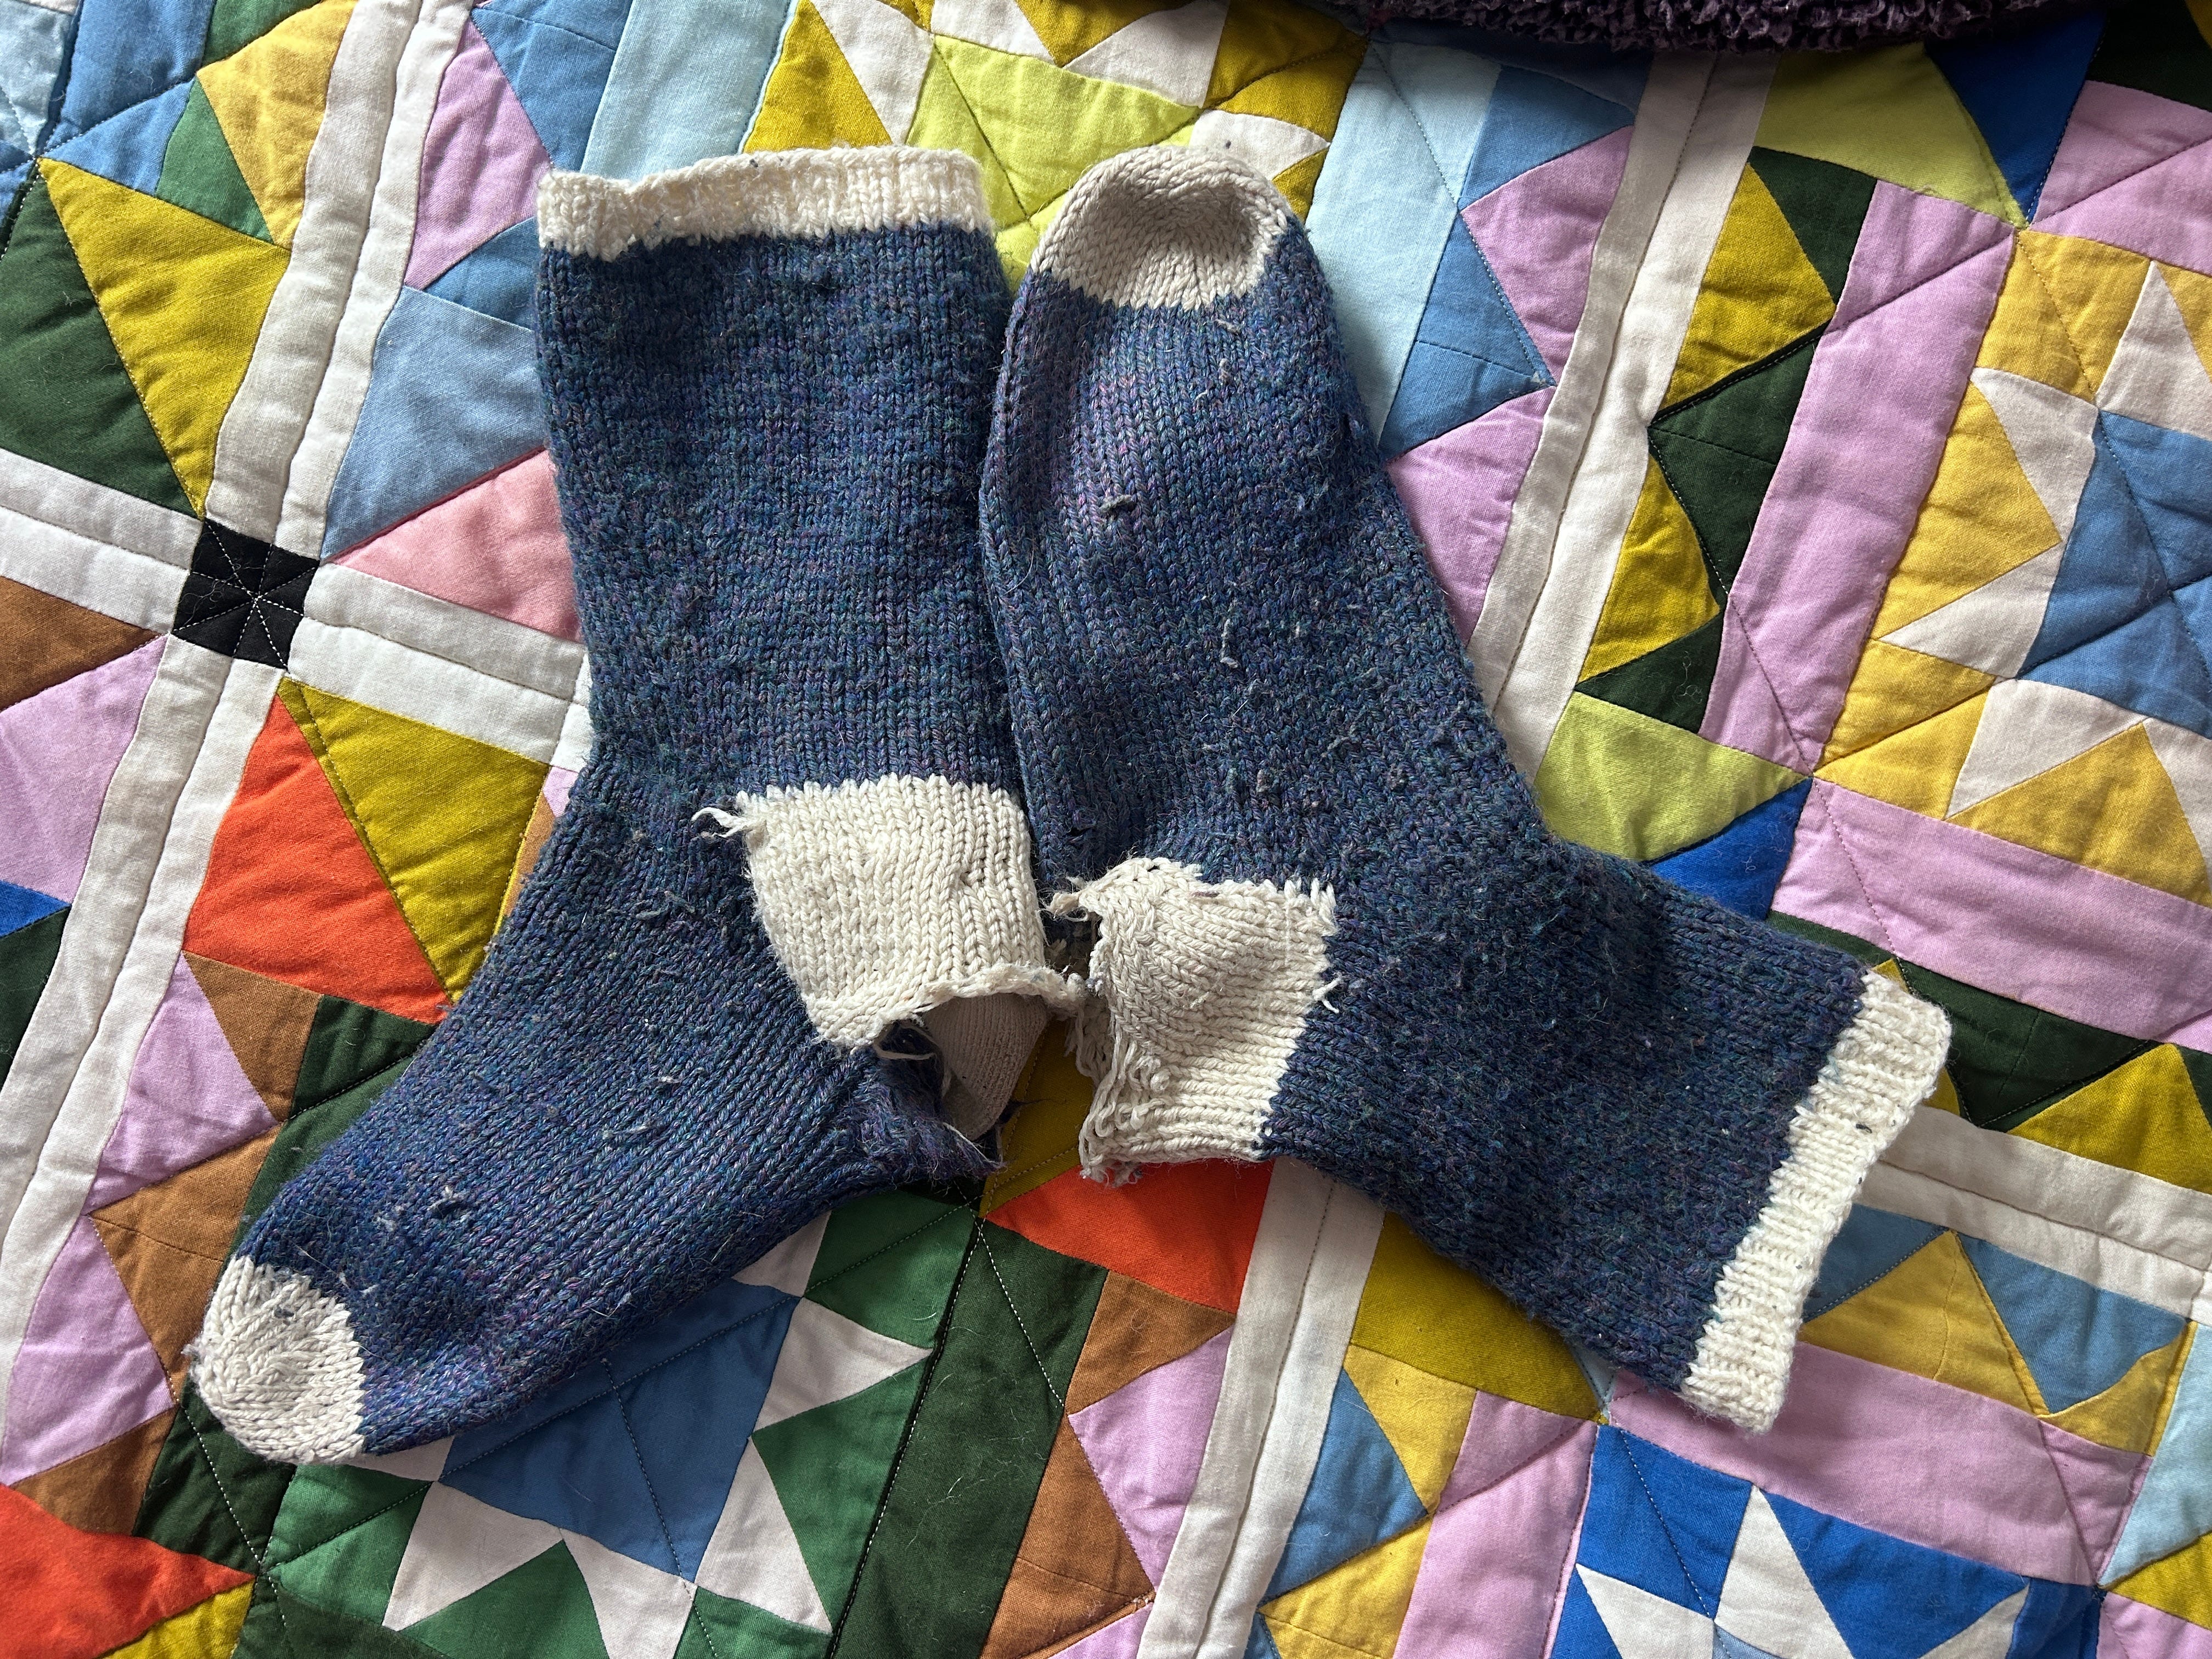
I then knit a second pair of socks that were slightly better fitting, but still poorly gauged. I started a third pair of socks, but then realized there were more fun things for beginners to knit, so I didn’t knit the second one (even though that pair was by far my best!).


From there, I knit the following projects through 2023:


Drinks on the Patio Crop - Cute, but low quality yarn & the neckhole is slightly too small for my head
Crop it Like it’s Hot Top - Beginning to learn the limitations of knit items for summer (aka it’s too hot to wear them); not the best fit with this chunky yarn!
Deima’s Bandana - Cute, practical & I still wear it today! Easy too, and good practice with increases and decreases.
Waffle Neck Warmer Scarf (lengthened) - I knit this as a present for my grandma! My only project not in stockinette on recommendation from my friend and knitting buddy, Kristine.
Holiday Slipover - This vest is full of mistakes, but I still love it! The color is perfect, and it fits my wardrobe quite nicely. At this point I began to shy away from bulky yarn, but I would knit this again.
Boxy Knit Cardigan - My first sleeves! I really like this cardigan, but it also has a pretty limited wearing season. I did knit it in cotton yarn, which helps a little. The buttons also don’t stay closed as easily as I wish they did. Maybe should have knit a size up?
Then, meet by far my 2 favorite knit projects, knit in 2024 and 2025!
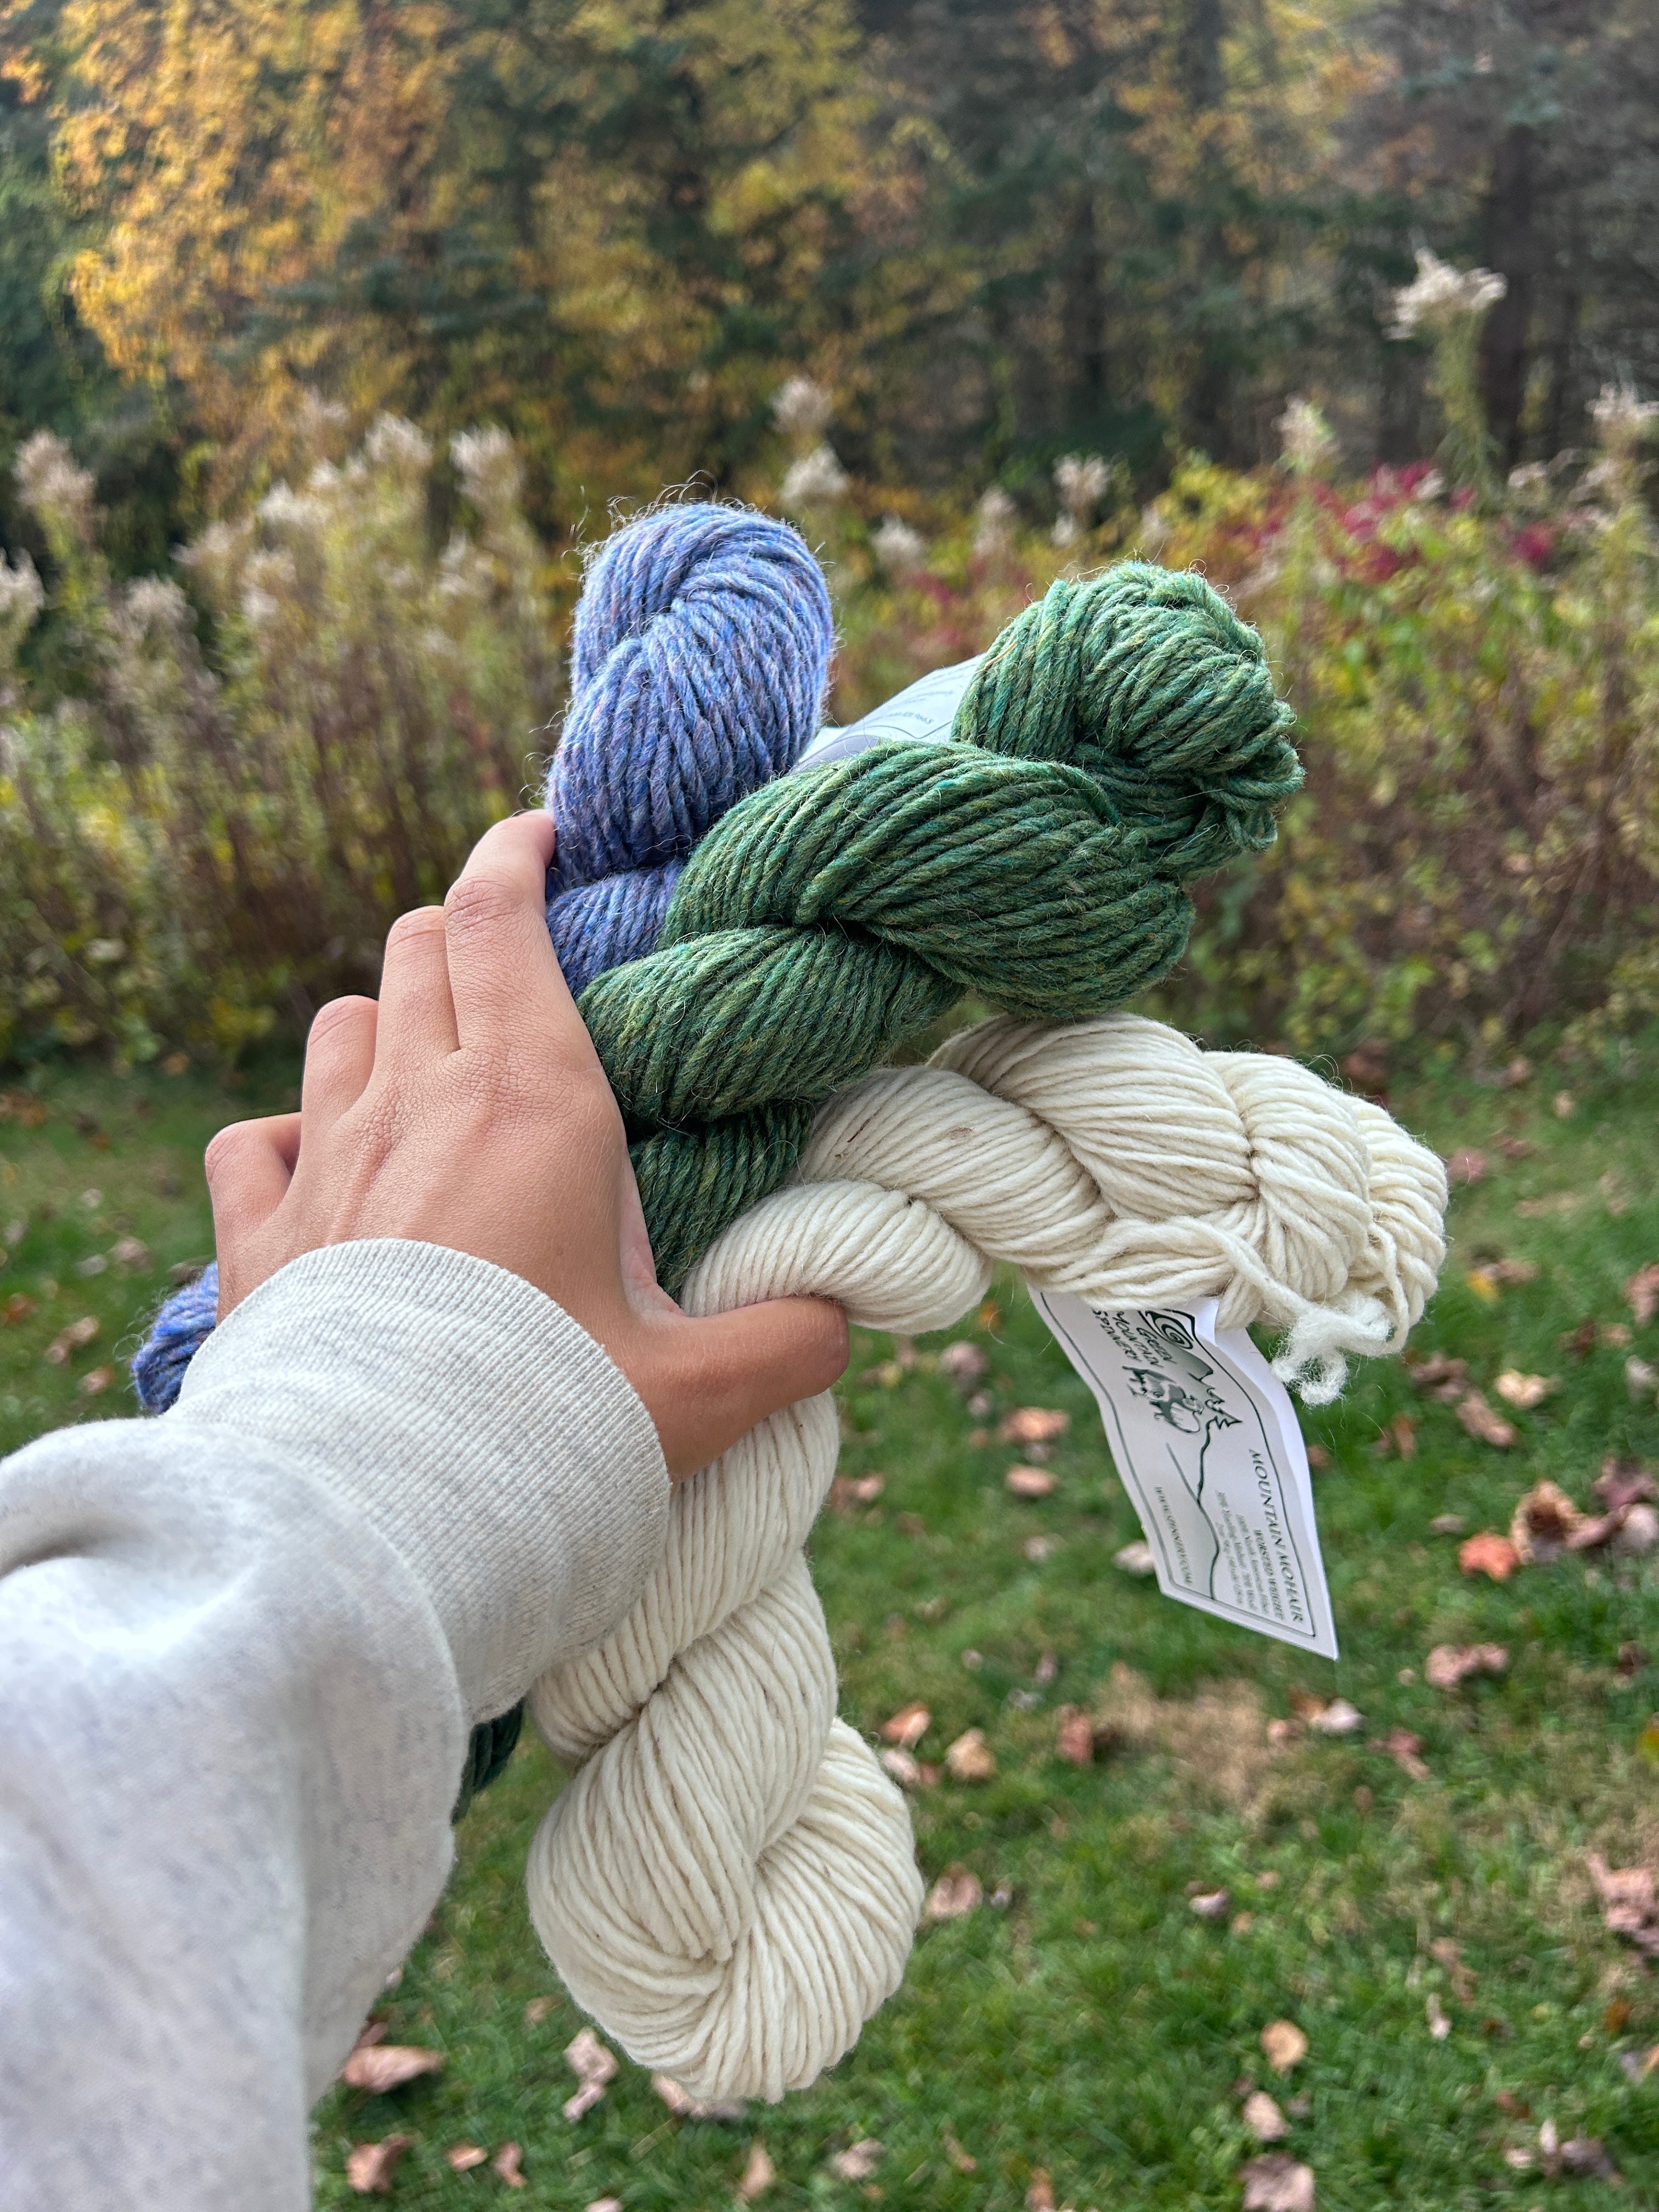
I knit this Vest No. 2 Spring Edition after getting yarn in-person at a trade show I attended for work. I think buying beautiful wool yarn in person sparked something for me—when I felt passionate about the yarn, I felt a lot more passionate about the project. I also thought harder about how I wanted the finished garment to fit into my wardrobe (I searched forever for the perfect v-neck pattern!) and the oversized fit, so I knew it would be something I’d reach for.


Then, after attending Rhinebeck Sheep & Wool for this first time in 2024, I knit this Cloud Sweater in yarn I purchased there! This is my first full sweater, and my very favorite. I could wear it any and every day. The color is perfect. The pattern is perfect. I definitely think I’ll knit another one! I knit this in 4 months, which feels fast.


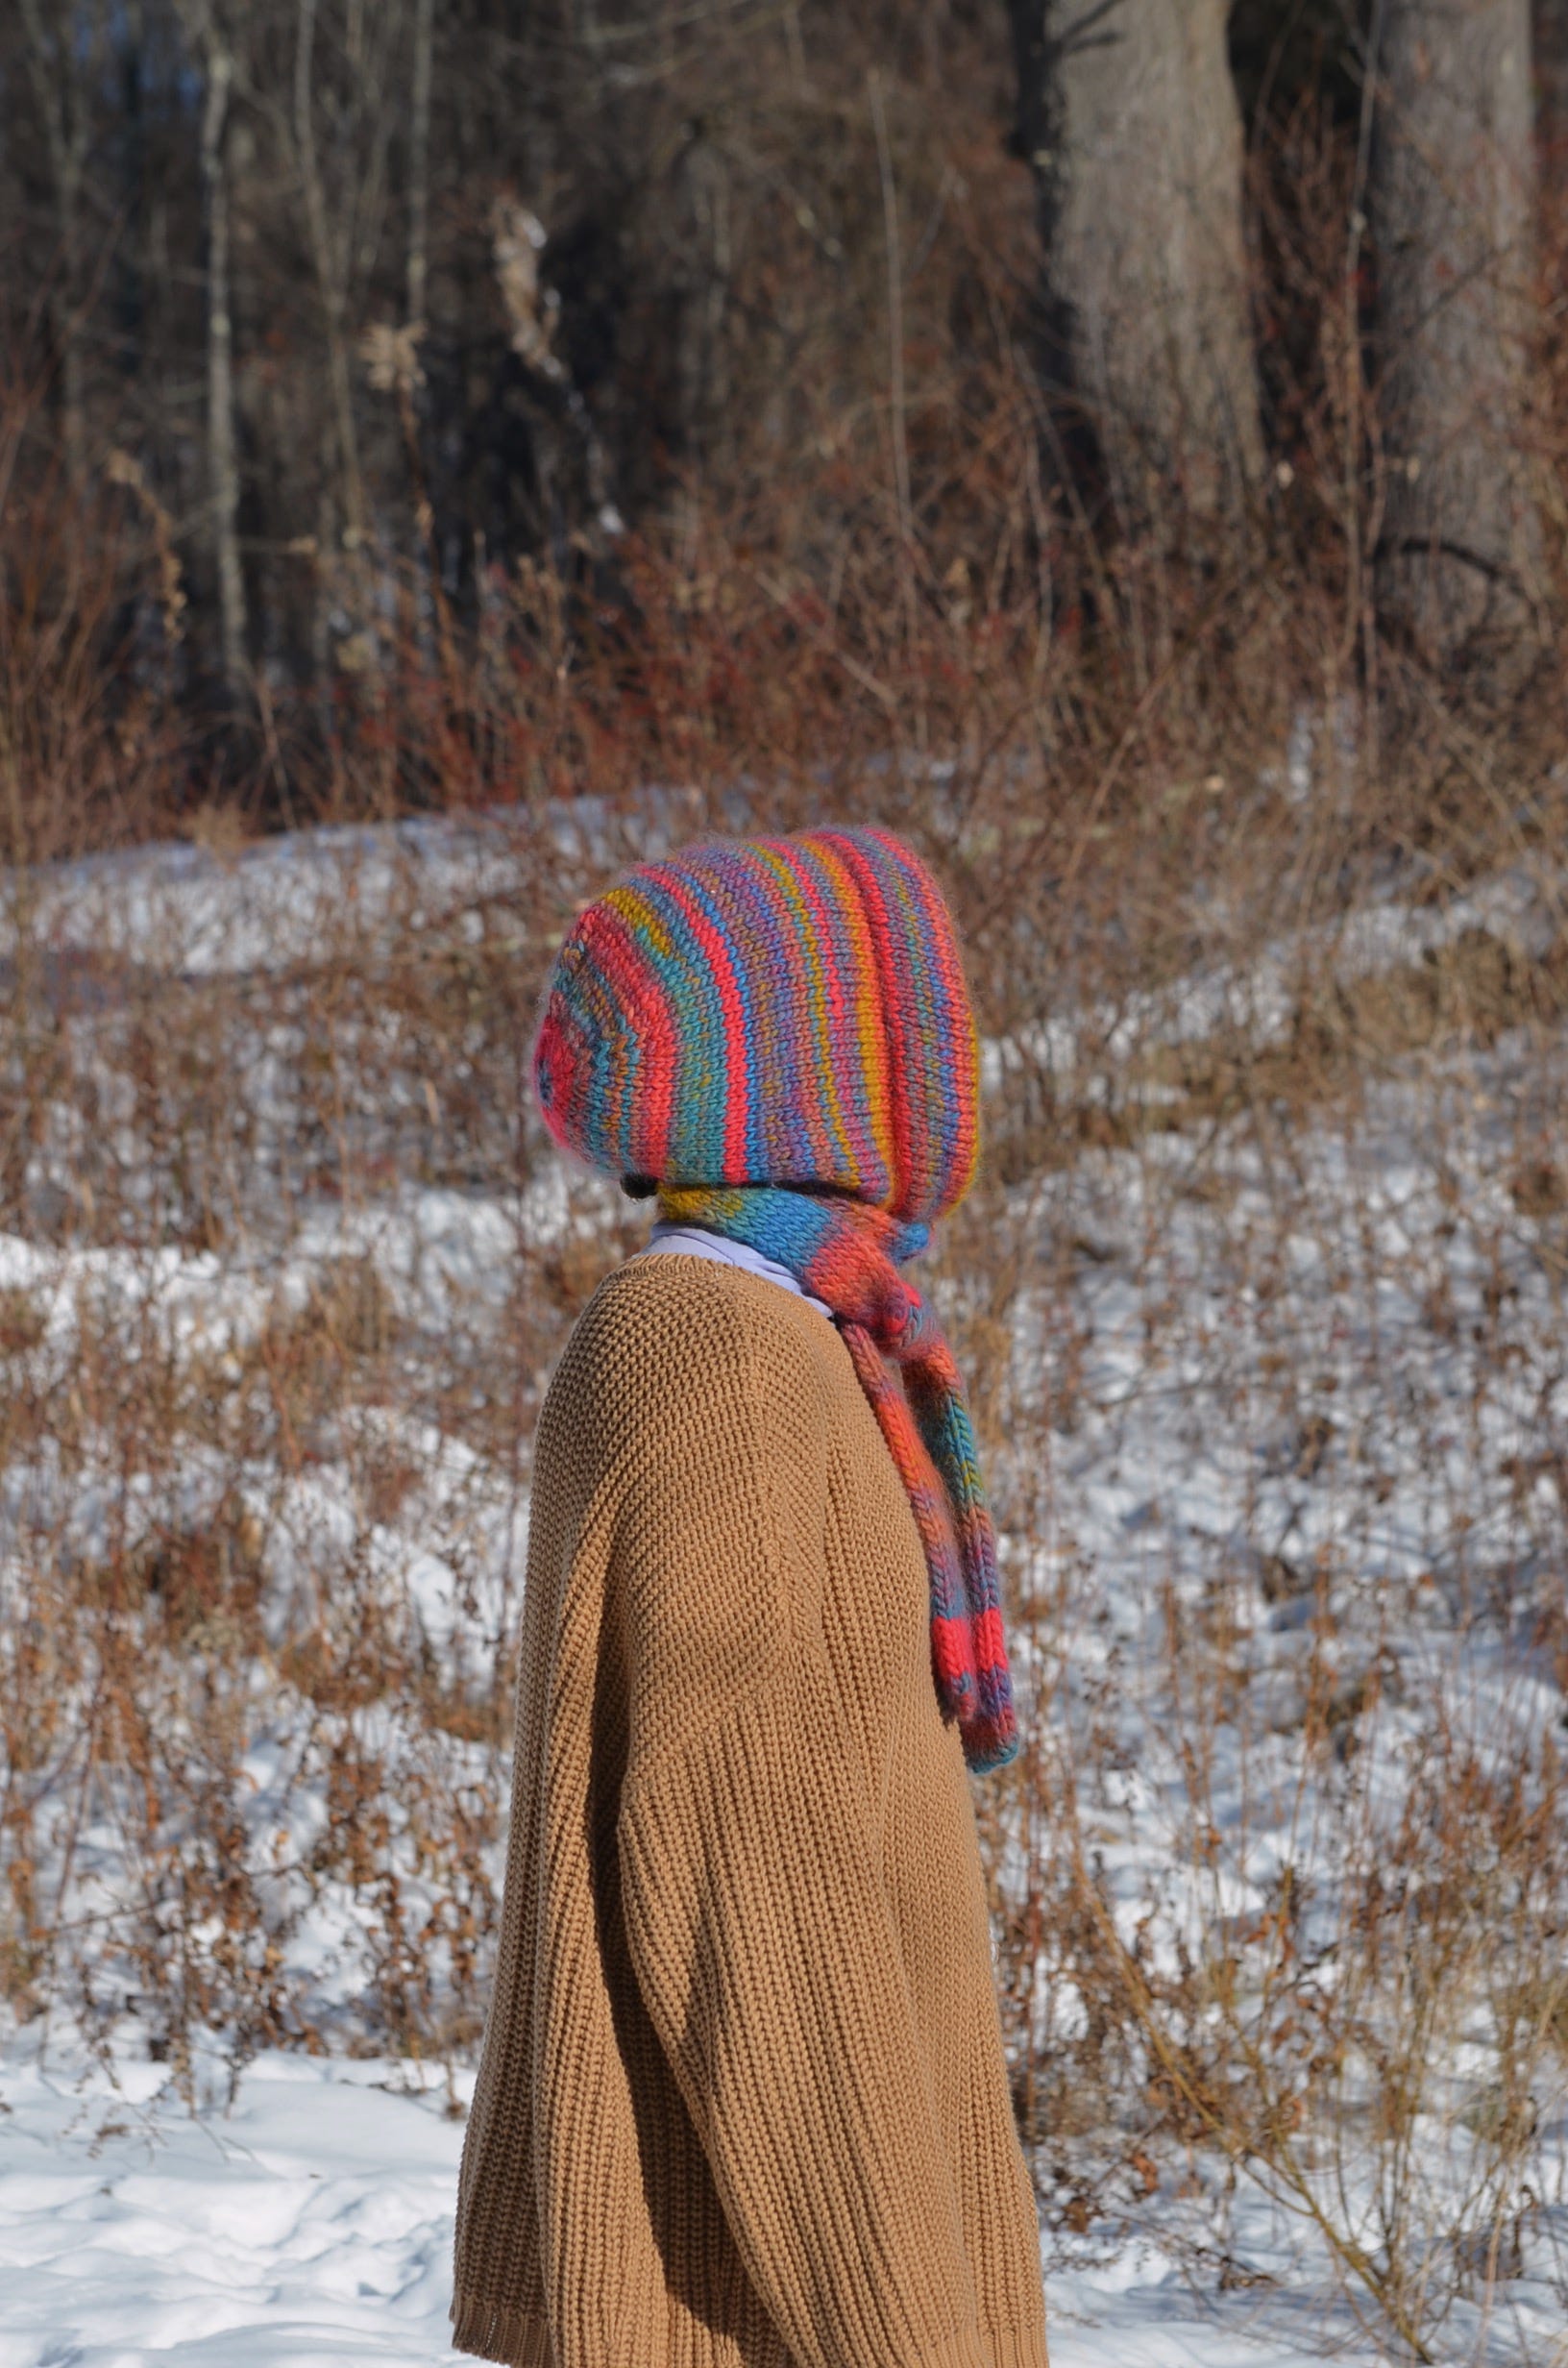
I also recently finished a Fuzzy the Hoody Bonnet. I love this thing, and it’s perfect if you’re not a beanie gal. The look of the double knit ties also makes it stand out from other bonnet patterns IMO. Knit after seeing a sample at my local craft store (with yarn from there too!).
Details for my knit projects (sizes and yarns) are on my IG!
WIPs
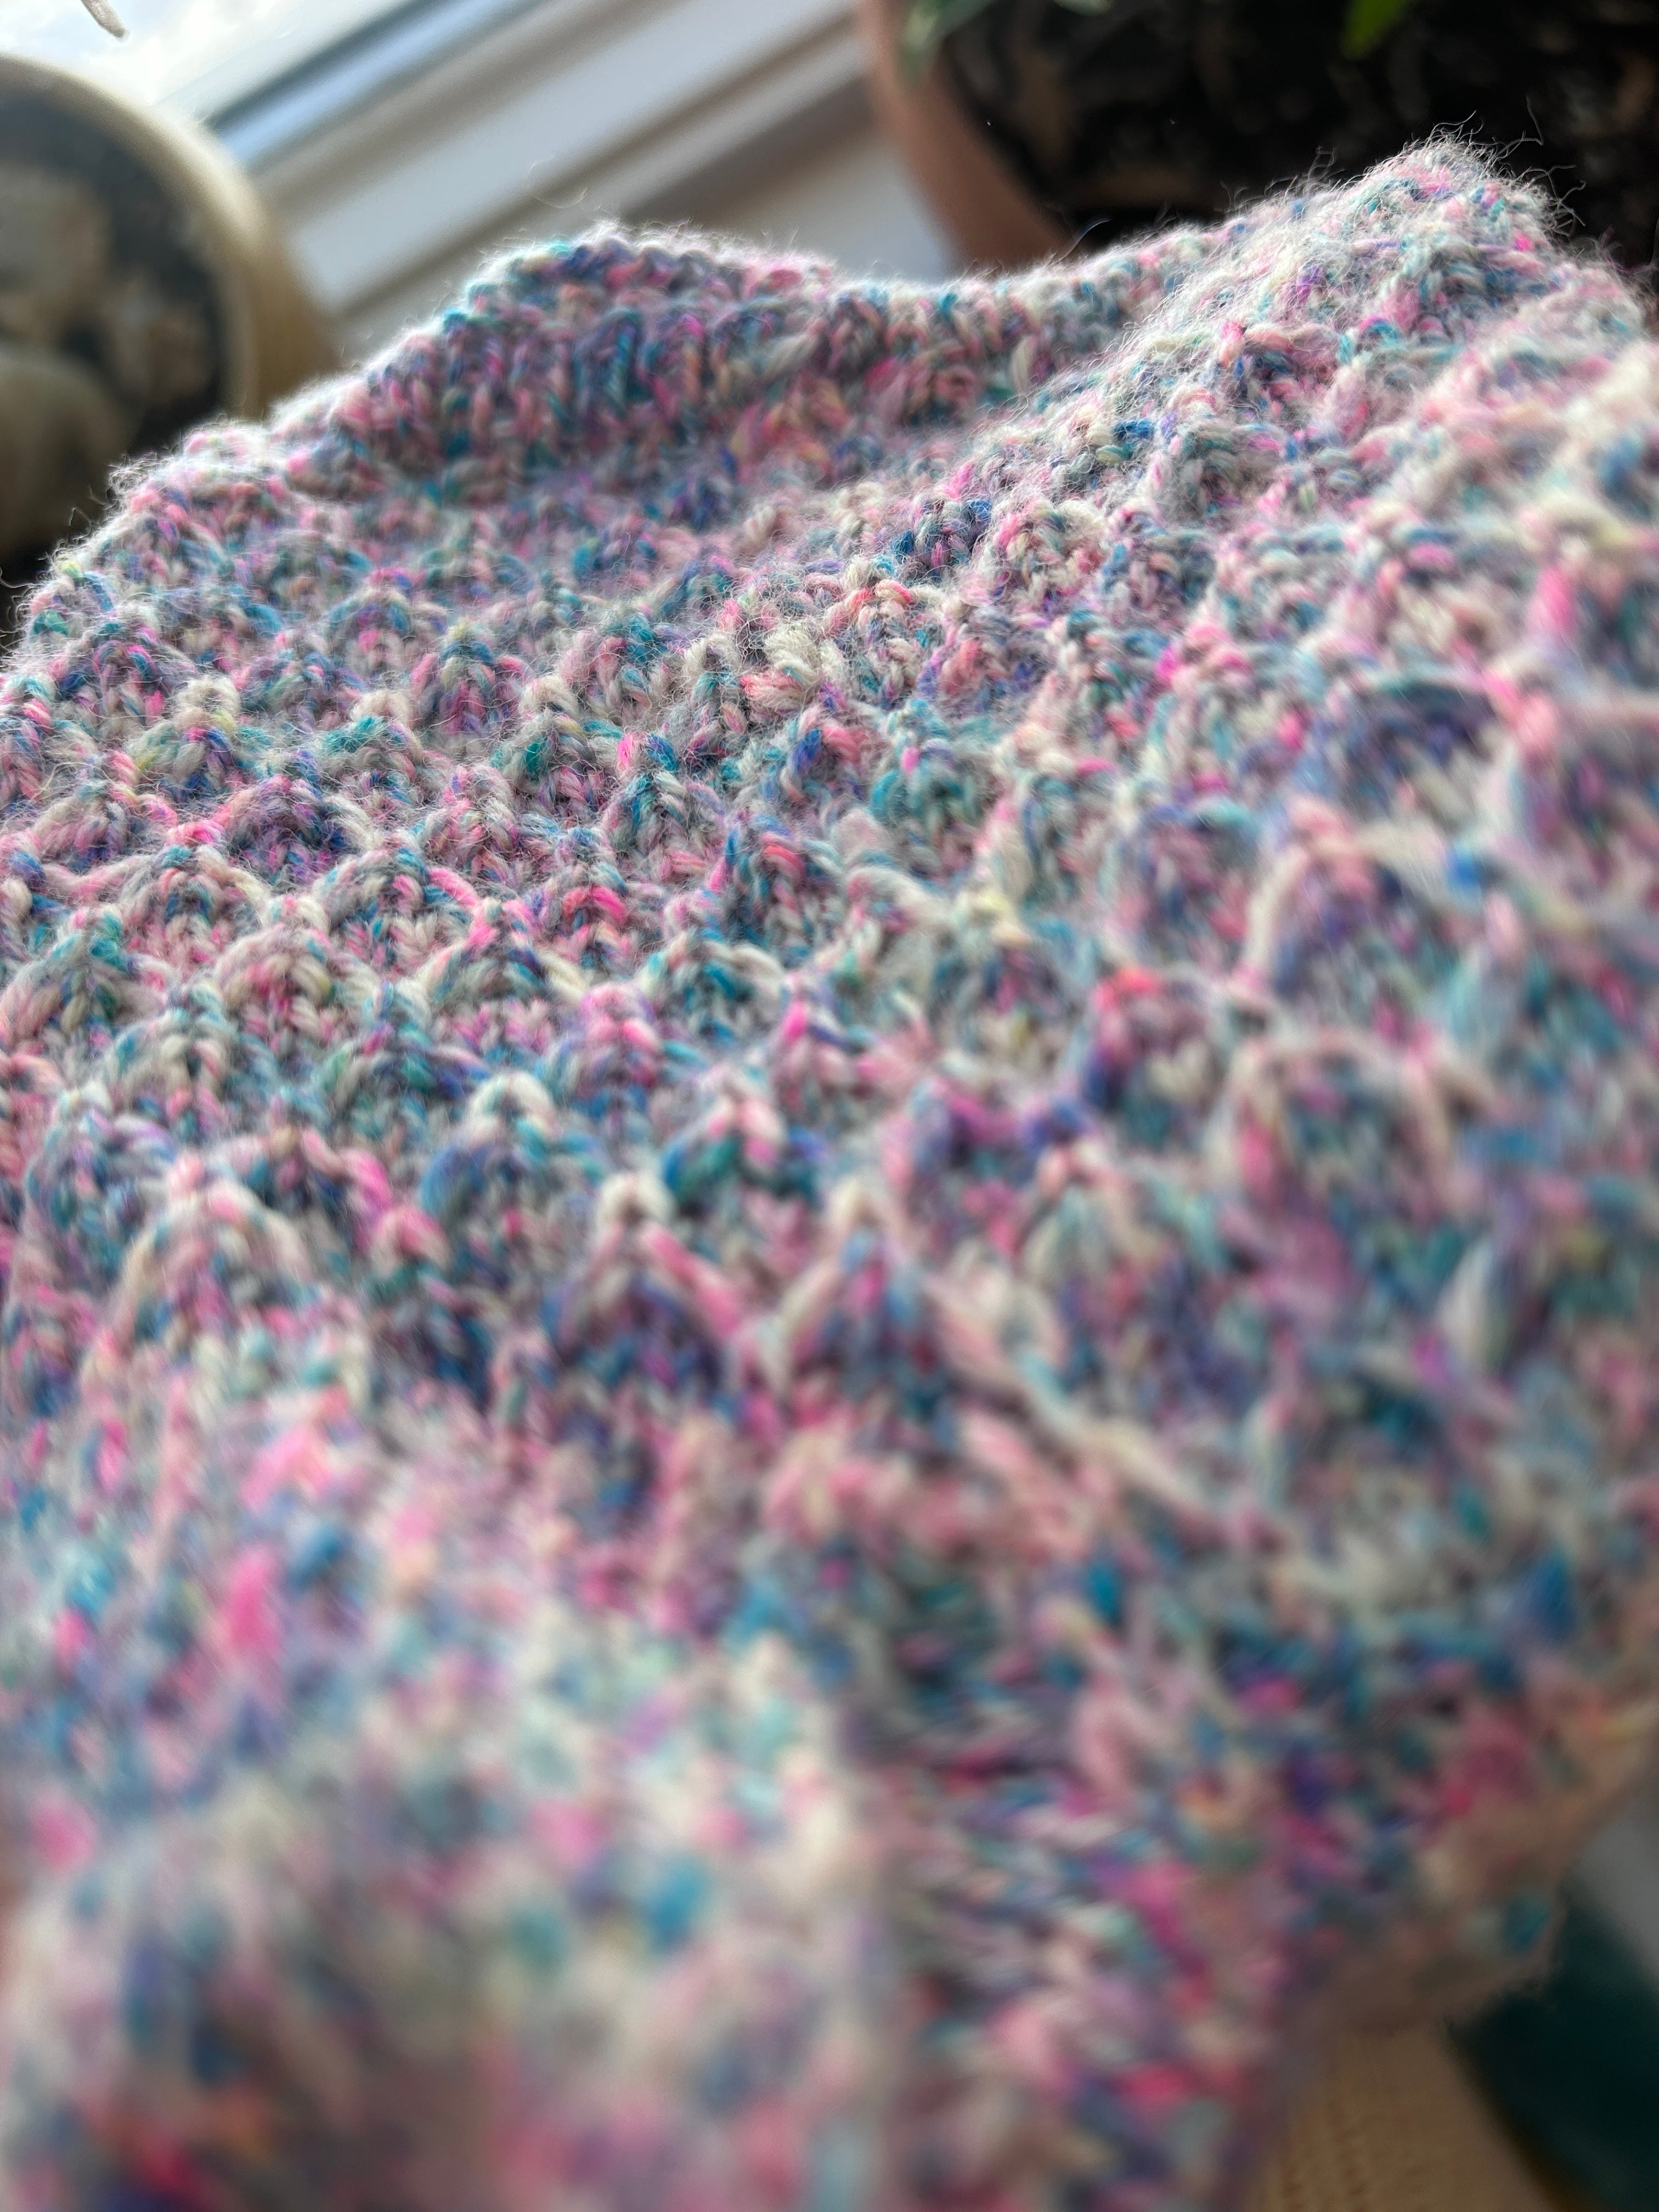
I have a long-standing scarf WIP because I find scarves very boring to knit, and now, after so long, I’m not sure that I like the look of the wide ribbing. But, I do like the yarn a bunch, so one day I’ll finish it or unravel it. What do you think? It’s 5 x 5 ribbing.

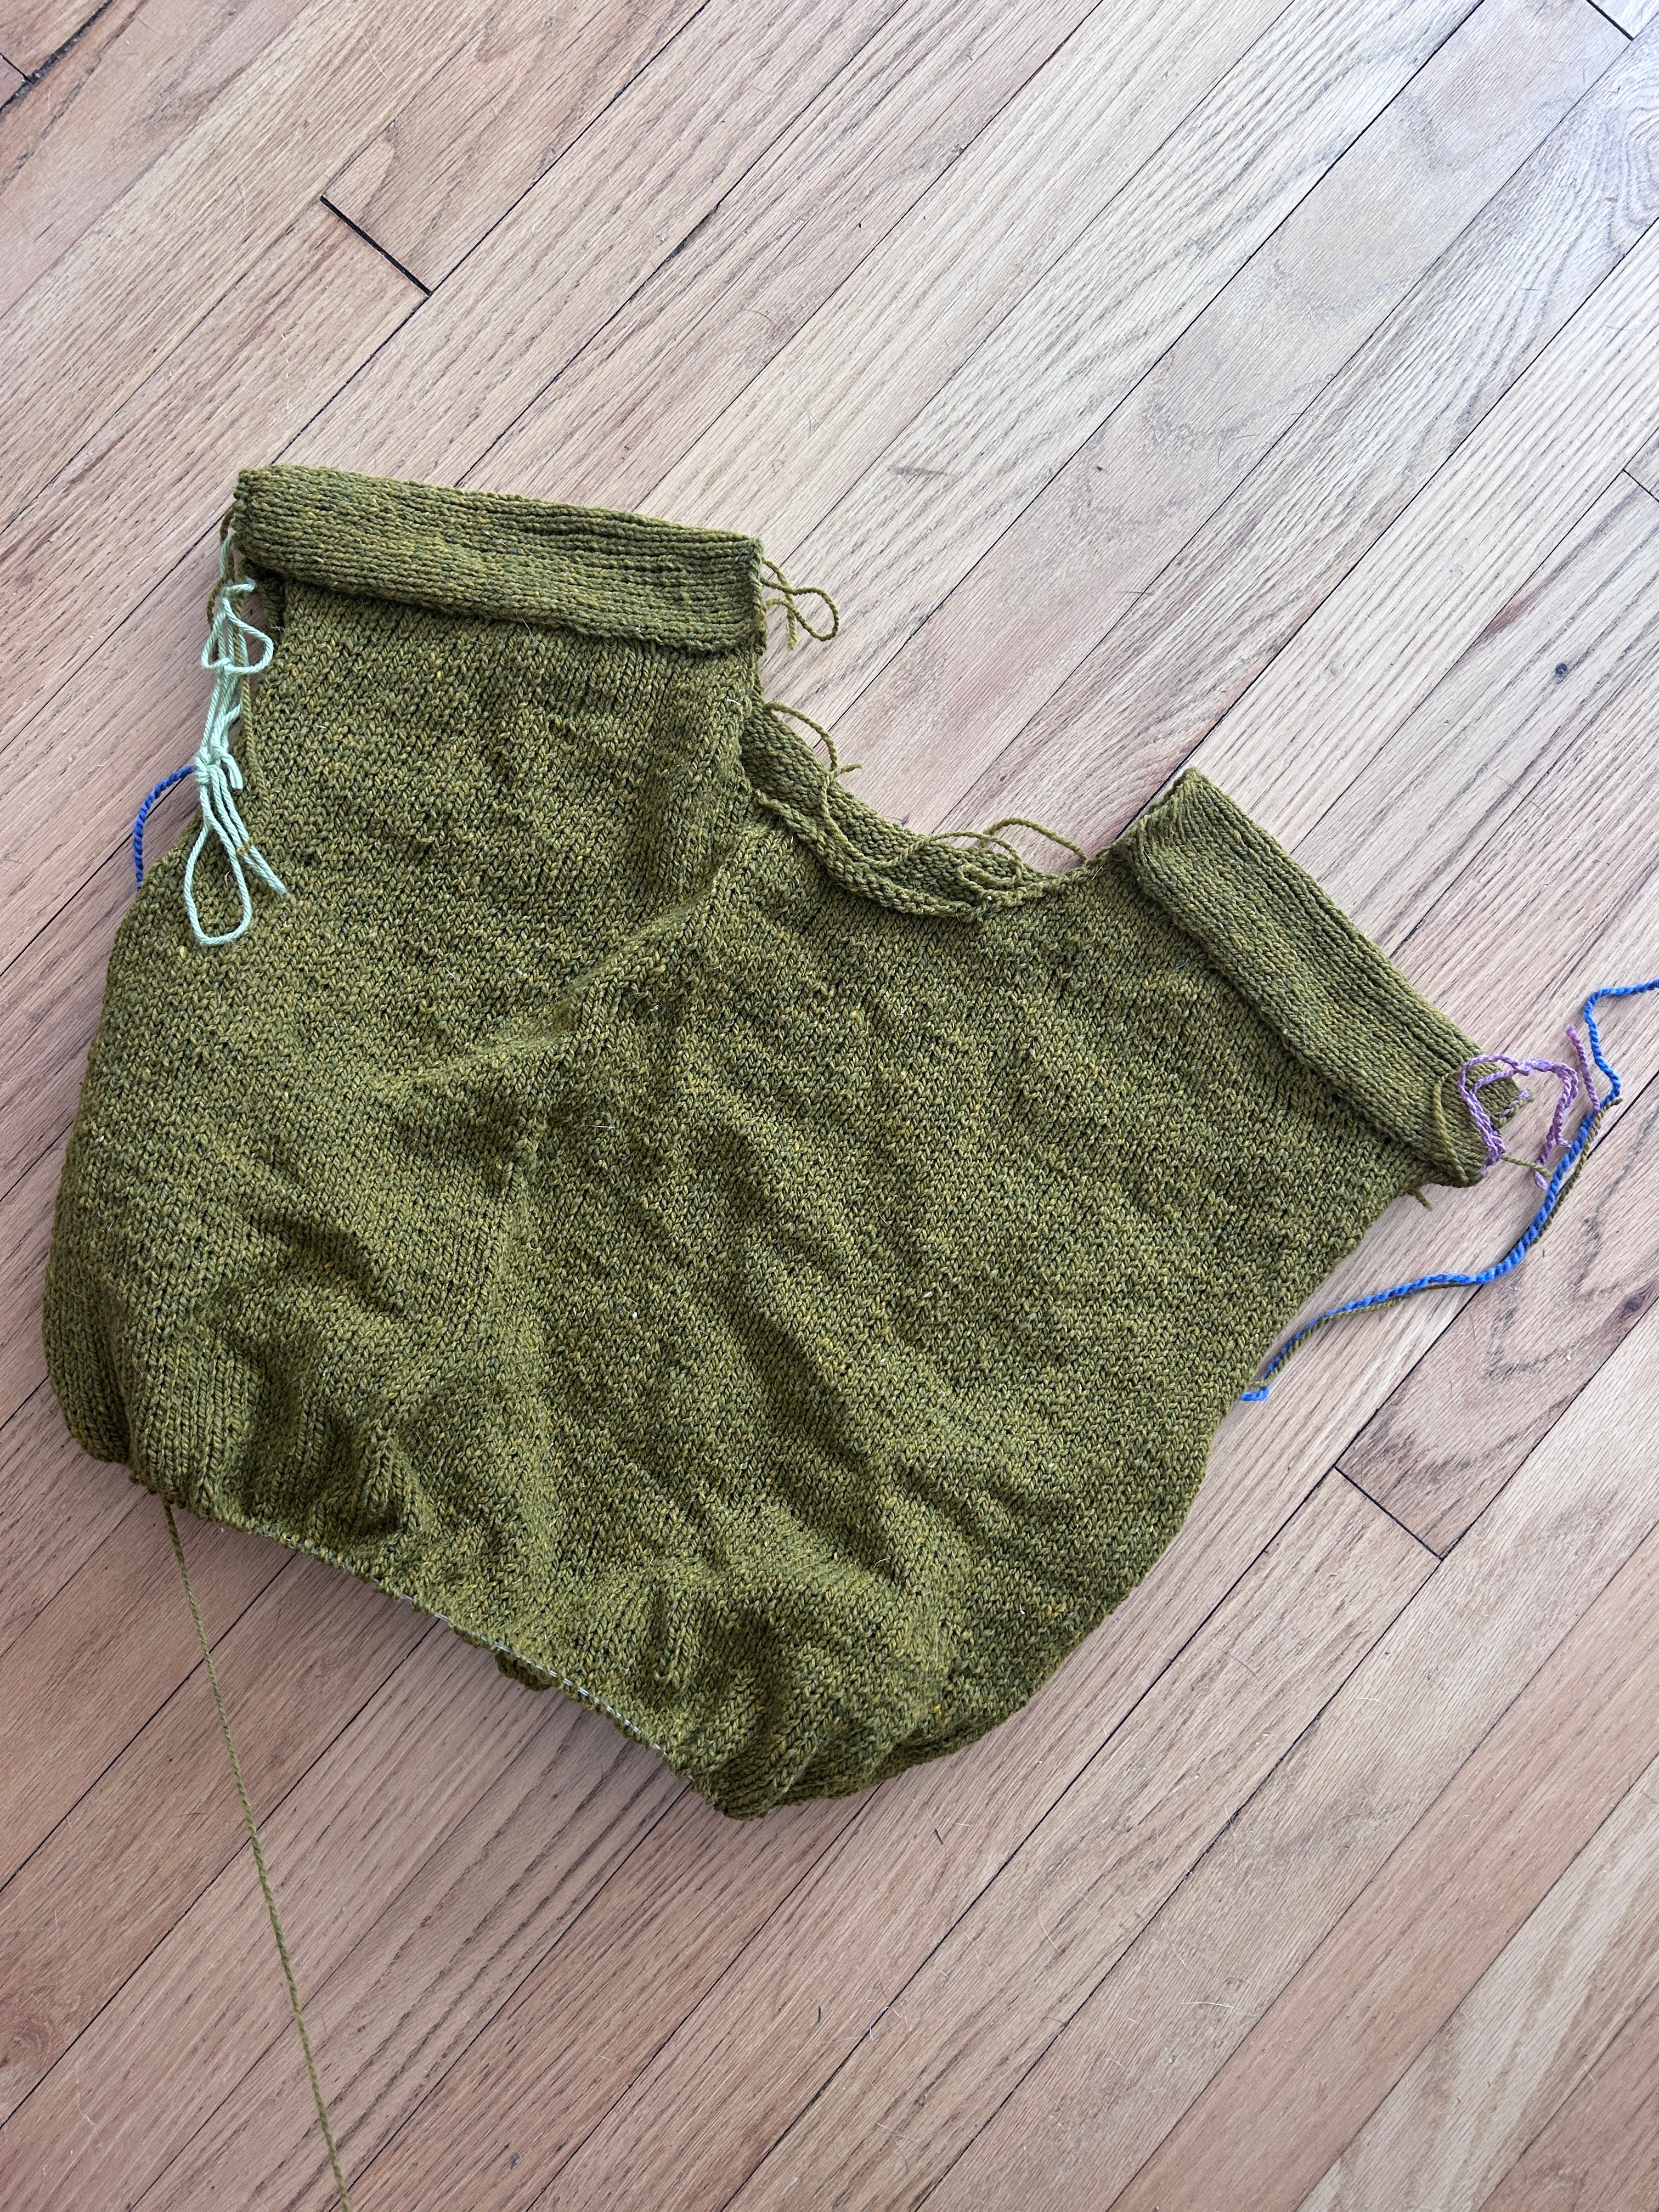
And, I’m currently knitting the Lakes Pullover with yarn I bought at Sheep & Wool in 2025. It’s the same yarn used for my Cloud Sweater in a different color, and the pattern is going well so far! Hoping to finish before winter ends.
I’ve also completed 1 mitten of a stranded colorwork project: The Subito Farms Bunny Mittens. I do plan to eventually knit the second one, but I needed a break. The colorwork is not the problem (more on that later), but working with the tiny needles, especially when decreasing, isn’t very fun.


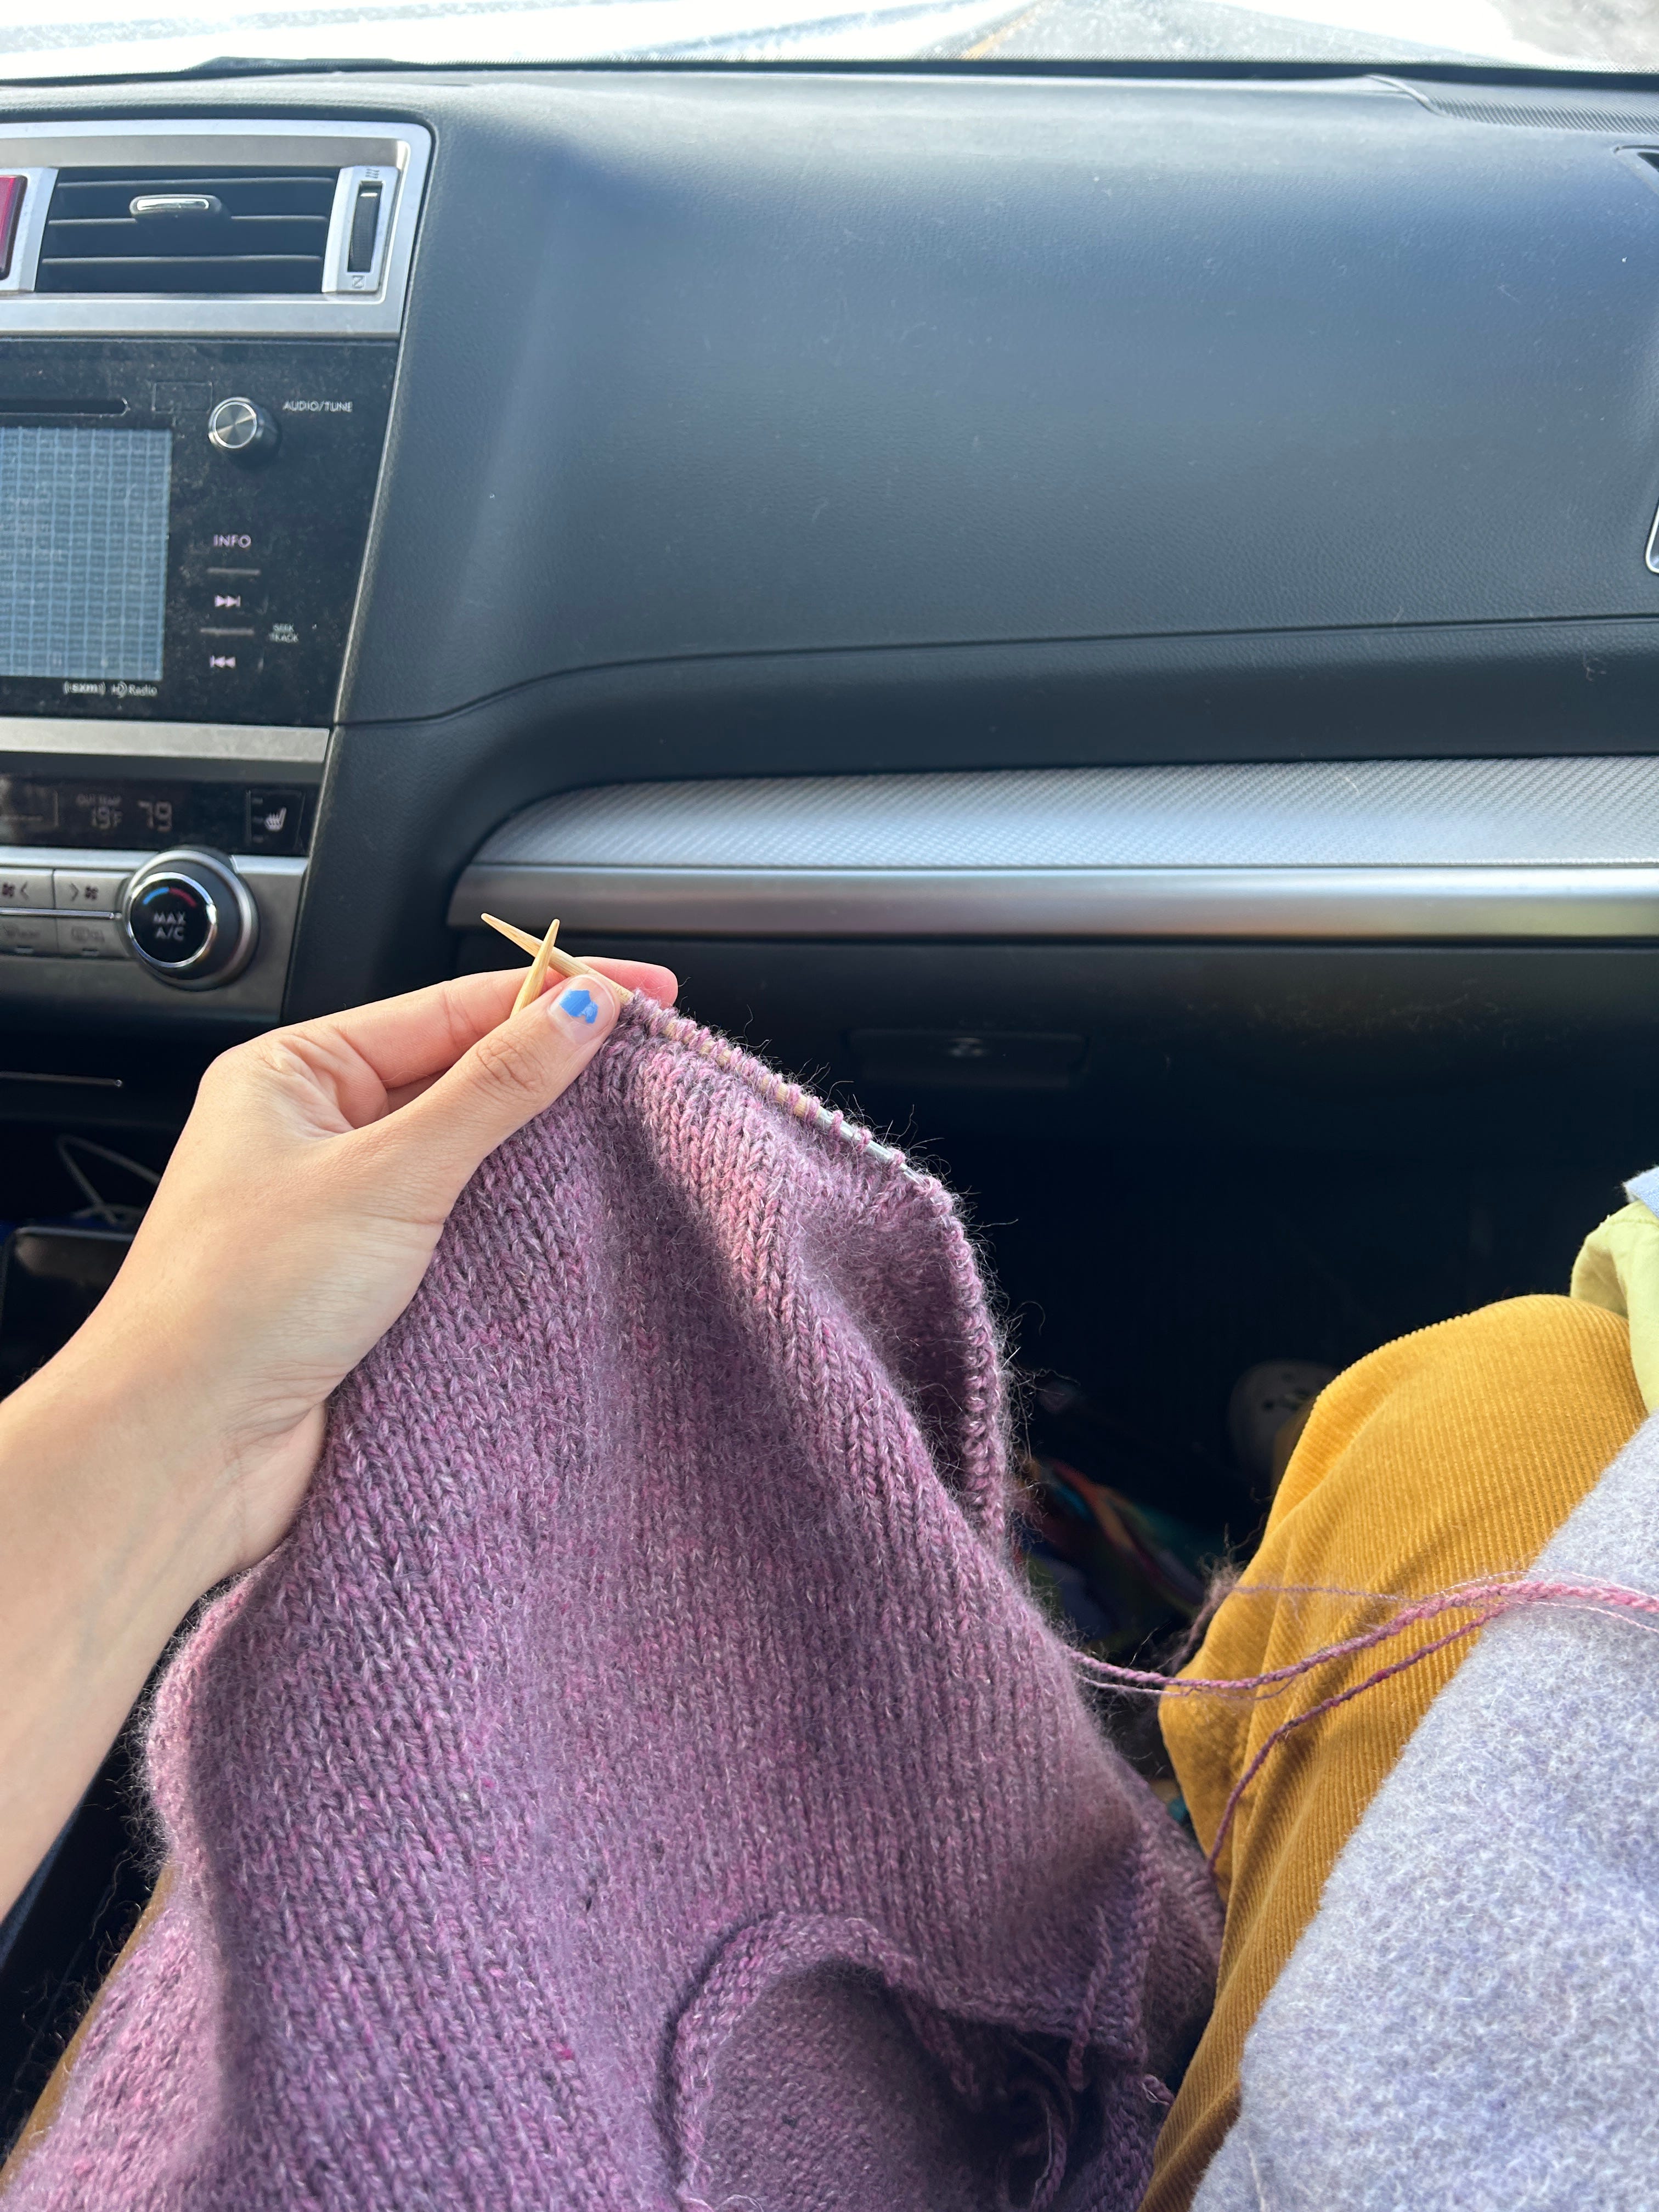
I knit in the evenings while I sit on the couch and watch things or when I go on roadtrips! It’s a very passive hobby, I like having something to do while I relax (lol), and the results are lovely! Right now I knit about 1 thing a year, but I’d love to make that 2.
What’s the Process Like?
Knitting is slow. It’s literally making your own piece of fabric in the shape of whatever you’re knitting.
It’s also quite simple: with needles and yarn that are correctly sized to your project, you work with two basic stitches: the knit stitch and the purl stitch. The knit fabric you create is 2-sided. When you stitch a knit stitch, it creates a purl stitch on the other side of the fabric. When you stitch a purl stitch, it creates a knit stitch on the other side of the fabric.


Most knit projects are stitched in stockinette stitch, which means that one side of the project has all knit stitches (generally the front), and the other side has all purl stitches (generally the back). When you look at a classic knit sweater like my cloud sweater, you’re looking at stockinette stitch! There are lots of other stitches out there that designers can use to switch things up (see the mermaid socks or waffle scarf!).
With just knits and purls, you can make squares and rectangles of any size. To shape your project, you use increases and decreases to add or remove stitches over the course of the rows. You can also pick up stitches and start knitting along different edges of the work, like adding sleeves to armholes you shaped earlier. You can also knit in a circle, called knitting in the round, to make tubes used in hats or sleeves.
If you’re not knitting in the round, you’re knitting flat. When knitting flat, you work on both sides of the fabric—you flip it over each time you finish a row, working from the front side, then the back side, then the front side, etc. If you’re knitting in the round, you knit from the front side the whole time.
The only other thing you need to know is how to cast on. This is the process of putting the first stitches on the needle (see Beginner Resources).
Knitting patterns give you guidance on what yarn and needles to use, tell you how many stitches to cast onto your needles to start, and then how and when to shape the project. If you’re knitting a stockinette stitch scarf (though probably, you wouldn’t be), your knitting pattern might tell you to cast on 50 stitches, then knit on one side of the work and purl on the other side of the work until your scarf reaches your desired length. That’s it!
Changing colors to create color blocks or starting your next yarn skein is very easy, but if you want to use more than one color at a time, you’re entering colorwork territory. There are two popular methods of colorwork: intarsia and stranded. I’ve only tried the latter, which is more common (see the bunny mitten!). In stranded knitting, you hold multiple strands of yarn at once, alternating them according to a color chart and to keep them from tangling on the back side of the work.
Feeling overwhelmed by terms? Remember that for a first project, you really only have to knit and purl! Most of the time, you’re slowly taking it stitch-by-stitch.
And the best part? By learning just increases, decreases, and picking up stitches, you can make whole garments (over many hours).
Understanding How to Start
Yarn & Needle Size
I think that picking the right yarn for the project you want to make is the most complicated part of a knit project. It’s also the most important thing if you want projects that fit and look good! Achieving the correct combination of needle, yarn, and tension for the desired outcome is referred to as the correct gauge. Remember that as a beginner, you always have the freedom to use the yarn the designer recommends. But, when you’re ready to branch out, this is what you’ll need to know!
Fiber Content
First, you have to choose what your yarn is made from.
If you’re looking in a big box craft store like Michaels (RIP Jo-Anns), you’ll likely be seeing lots of acrylic yarn. Acrylic yarn is very soft and the least expensive option that you’ll find, but it’s synthetic, made with plastic, so it’s not great for the environment. It’s also more likely to pill and deteriorate over time and with wear. If you like acrylic yarn, purchasing it secondhand is a great compromise. I am not here to tell you not to use acrylic yarn, but I do think natural fibers are amazing for a lot of reasons!
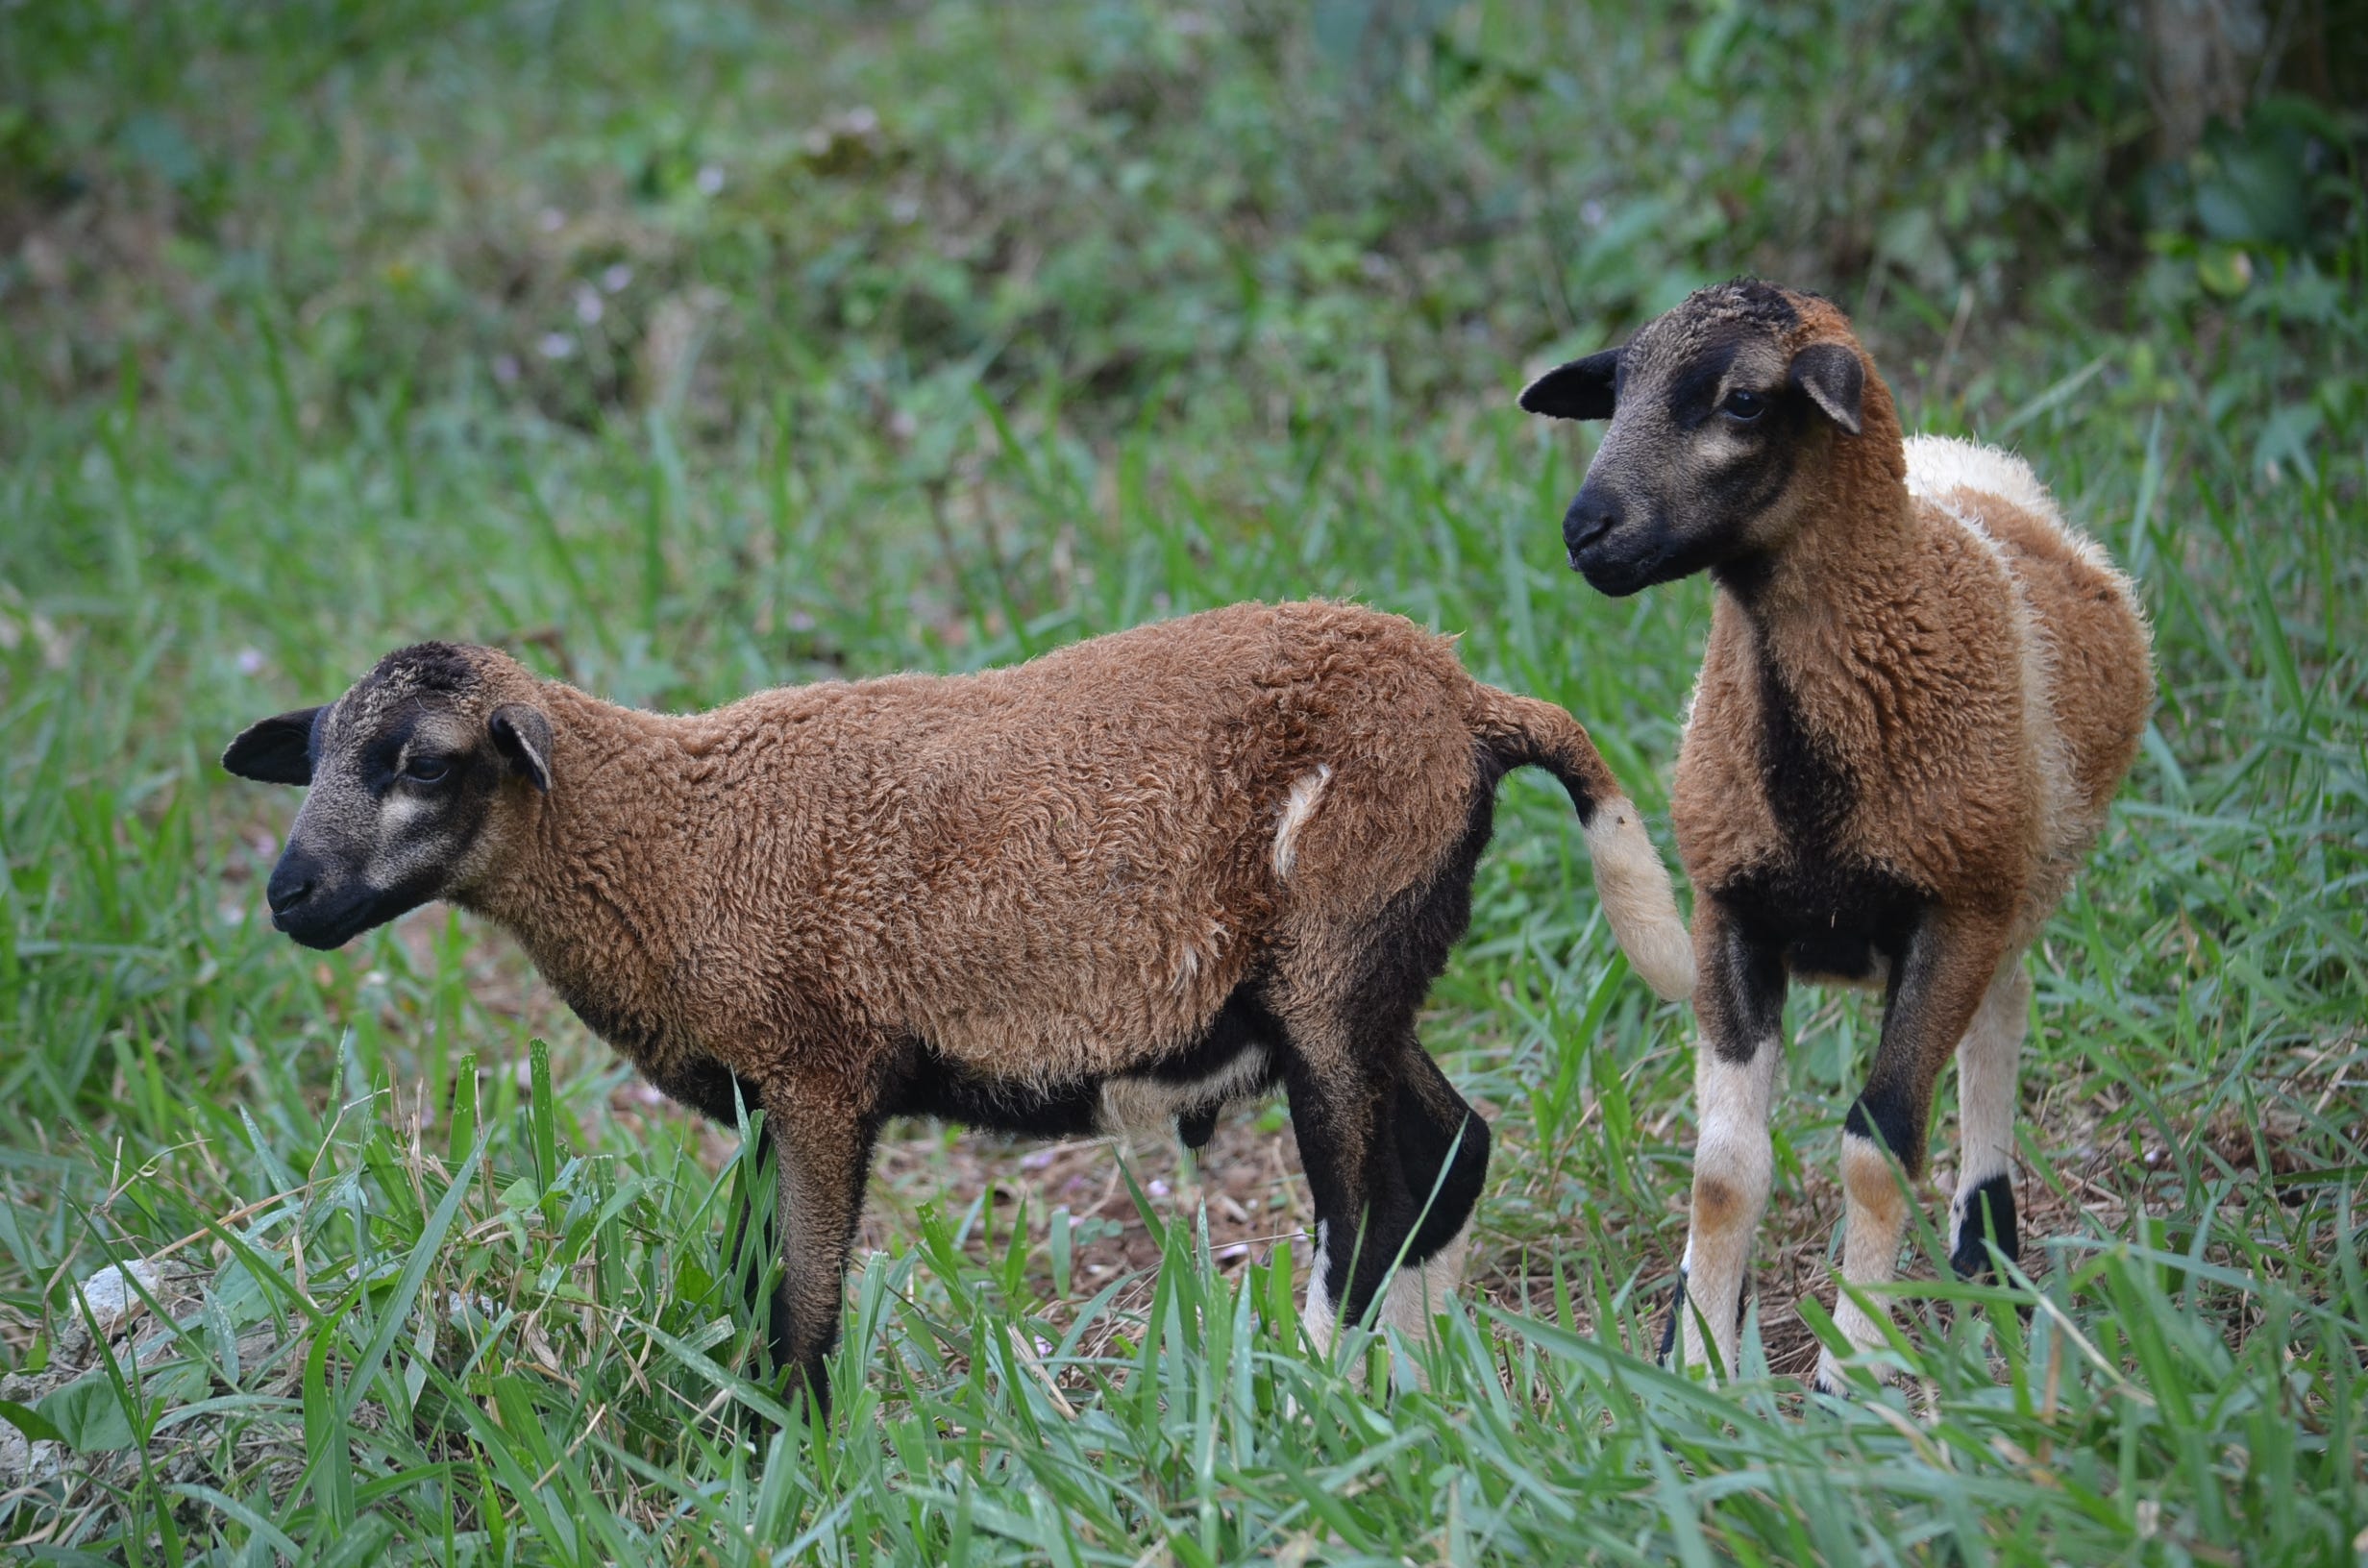
The most common used fiber for knitting is wool yarn. I love wool! Wool is antimicrobial, extremely warm, breathable, moisture-wicking, and literally grown by sheep, which is rad. I highly suggest investing in wool yarn if you’re able!
One benefit of the slowness of knitting is that the cost of yarn can really be spread out over months or even the whole year. It’s easier to invest in something that will provide months of activity and a lifetime of wear! One word of warning: wool garments should always be hand-washed and never put in the dryer (see Caring for Wool Knits, below).
Cotton yarn is a great option if you’re making a more lightweight knit for wearing in the summer or the shoulder seasons. I like cotton yarn a lot, but the lightweight knits I’ve made actually don’t get as much wear because they are too warm for the summer and not warm enough for the winter. That being said, it’s a nice option for a natural fiber that’s less expensive!
You may also see mohair, bamboo, alpaca or silk yarns. Mohair, a fine and soft yarn made from Angora goat fiber, is a particularly common add-on to lots of knit projects. You can hold mohair with your main yarn (or really, combine any yarns as long as you get the correct gauge) to give your project a fluffy feeling, an accent color, or a little shine. Holding 2 pieces of yarn together and treating them as one is still a beginner friendly technique!
Yarn Weight
After considering your yarn fiber, it’s time to find yarn that’s the correct weight for your project. This is the part that can be tricky when you’re out shopping for yarn, and I’m going to try and simplify it!
Yarn weight is not standardized, really. Yes, if you go to a box store or search online, you can find charts that range from Lace to Jumbo. This gives you a general idea of the different types of yarns and weights, but these titles are more like big picture categories. In general, knowing the following common yarn types (listed from thinnest to thickest) will give you a good foundation of the scale at-a-glance.
fingering → sport →DK→ worsted → aran → chunky/bulky
So, a pattern or yarn label might list one of the above categories, but in order to get specific enough for successful results, you have to actually reference the weight of the yarn given as grams per meter or ounces per yard.
This sounds simple enough, but everyone lists this measurement a little differently, which means that comparing from pattern to yarn and across yarns is more work than I wish it was. Additionally, most pattern designers will actually list just one specific yarn brand and type that they recommend for the project + the weight per length of that yarn. That means if you want to use different yarn, you have to find something that is as comparable as possible to that designer’s yarn pick.
Jump down to Example: Choosing the Right Yarn (below) to get into the weeds of this!
Needles
Relative to choosing yarn, needle size is simpler. Needle sizes are listed in mm or in US sizes (often both). The pattern will tell you what needle size suits the project (and thus, suits the yarn they are recommending).
Gauge: Some yarn labels also have a suggested gauge. This is a suggested needle size to match with the yarn and achieve a # of stitches per inch/cm. If your pattern has a suggested gauge, you can compare it to the one on the yarn label, but again this isn’t as helpful as comparing the weight per length.
Making a gauge swatch (see below) is then the final test for making sure you have the correct combination of yarn and needle.
Example: Choosing the Right Yarn
Let’s go through this with an example: the Cloud Sweater! Here’s the information that the pattern gives you:
Yarn Weight: Aran yarn + light fingering yarn held together = bulky yarn*
*This means that the designer recommends holding 2 pieces of yarn (of those weights) together. If you want to use one yarn instead, you would choose a bulky yarn to match the weight of holding the 2 pieces together.
Gauge: In stockinette stitch (knits + purls), knitting 17 stitches and 26 rows creates a 4’’ x 4’’ square
Needle Size: US 7 (4.5mm)
Suggested Yarn**:
Eco Soft by Isager Yarn (50 g = 125 m [137 yds]) or Kos by Sandnes Garn (50 g = 150 m [164 yds])
held together with
Silk Mohair by Isager Yarn (25 g = 212 m [232 yds]) or Soft Silk Mohair by Knitting for Olive (25 g = 225 m [246 yds])
** The notation of this suggested yarn will include the amount you need for your size. it will all be listed in a row in the order of the sizes, and look something like this:
350 (350) 400 (400) 450 (450) 500 (550) 550 (600) g corresponding to sizes XXS (XS) S (M) L (XL) 2XL (3XL) 4XL (5XL)
So, if you were knitting a size XL, you’d need 450g of the suggested yarn. See Choosing a Size (below) for more on picking the right size.
Let’s turn all this into actionable information!
First, the yarn weight. This tells us we’re holding a medium weight yarn with a lace weight yarn, but that’s pretty much it. There’s your big picture, but let’s keep going and talk about Suggested Yarn next.
For the medium weight yarn, the pattern is suggesting something that is 50g per 125m or 50g per 150m. That’s because there is a little wiggle room in yarn weight. You’re trying to get close, but there is a range of yarn that will work for a given design.
To make things easy, let’s look at the 50g/150m option. This means that a skein of yarn with 150m length weighs 50g.
As you browse yarn, you’ll notice that not everyone will use this same 50g as a basis. So, let’s break it down to a simpler format.
You can divide the length by the weight to get the length per gram. In this case 150m/50g = 3m per gram.
For my sweater, I used Green Mountain Spinnery Mewesic yarn that lists itself as DK weight with 58g per 165m. 165m/58 g = 2.8m per gram. This is super close! I decided it was close enough and used it. Knitting for Olive Heavy Merino is another great option. This yarn is listed as Worsted, but the weight is 50g per 125m, the same as one of the yarn options the designer gives!
Baa Ram Ewe Woodnote yarn is listed as Aran with a weight of 100g per 168 yards. Let’s first convert the yards to meters (sometimes you also have to convert ounces to grams)—168 yards is about 154 meters. Then, 154m/100g = 1.54m per gram. This is about half the weight of the recommended 3m per gram, so I’d skip it (even though it’s listed as Aran; see how unhelpful those labels are?)!***
***There are ways to make yarns work for a project. In the case of this example project, there are at least four factors that affect gauge: yarn 1, yarn 2, needle size, and the knitter’s tension. If you got a thinner yarn 1, you could get a thicker yarn 2 and reach the same gauge. As a beginner, try and get yarn that matches the designer’s recommendations, but keep this in mind if you ever have a dream project/yarn combo that isn’t quite right.
Once you’ve chosen a medium-weight yarn, follow the same process with the lace weight yarn! I actually used the recommended yarn, Knitting for Olive Soft Silk Mohair, for my second yarn.
Ravelry (see Beginner Resources, below) has crowd-sourced information about all the yarns people have used for a particular project and how it went. This can be a quick way to find yarn options and sometimes to evaluate the suitability of your pick. You can also browse yarn by general weight to find more options if you want!
Once you have everything decided, you must also purchase the right amount of yarn. You do this by choosing a size. First, take accurate measurements as indicated by the pattern. For most sweaters, this is a bust/chest measurement and a length measurement. Then, you must consider ease: the amount of space between your body and the garment. Most patterns will tell you how much ease their size charts include.
Let’s look at my Cloud Sweater. It’s designed with about 10’’ of ease, which is pretty common for oversized women’s sweaters. I have a bust circumference of 36’’, which puts me at a size M. So, if I knit a size M, my sweater will have 10’’ of ease at my bust. If I wanted less, I could size down or vice versa.
It’s very easy to make your sweater or sleeves longer if you want, but you must plan ahead to get enough yarn. So, if the length doesn’t seem like enough, consider throwing in an extra skein to your order. It’s not recommended that you purchase an extra skein later, as yarn colors can vary slightly from dye lot to dye lot.
Finally, purchase the right amount of yarn. Per the pattern, I need 400g of medium weight yarn, which is 7 skeins of the 58g yarn skeins I purchased (and 125g/4 skeins of the light weight yarn). This was the perfect amount—I used all 11 skeins.
TIP: Save your yarn labels! I tape one from each project into my crafting journal. This makes your life easier in the future when you need to remember exact details of the yarn you used! Also keep note of how many skeins you bought and how many you used.
Caring for Wool Knits
Remember when I mentioned that wool knits should be hand-washed and never put in the dryer? This is super important! If you put wool knits in the dryer, they will felt—aka revert to a state more like how they looked on the sheep! All the individual strands will combine together.
Instead, you should block your knits. This is the process of soaking them in water (optional: with a tiny amount of gentle wool detergent), then laying them flat to dry in the shape they will be worn. There are blocking mats and pins specifically for this, but to start, you can lay them out on towels (that’s still what I do!). You should block all projects after you finish them and before you start wearing them.

Blocking your knit is both how you wash the garment and a way to vastly improve the look of the stitches and the shape! It relaxes the yarn so that the stitches look more uniform and even, and improves the garment’s drape across the body. You will then weave in any loose yarn tails to finish the project.
You can also make a real impact on the size or shape of the project by blocking. If your sleeves or body are slightly uneven or too short, you can gently stretch them longer, and pin them into place on the towel or mat. When they dry in this slightly stretched shape, they will hang longer on the body! While you shouldn’t count on blocking to alter the garment, it’s a great way to affect change after you’ve already finished the project.
What to Do On Your First Day
A Practice Swatch
You need a little bit of yarn and a set of needles to start some practicing. Practice a Long-Tail Cast On to put a first row of stitches on your needles (20-30). Then, practice knits and purls! Go back and forth until the motion of each stitch feels pretty comfortable. Then, unravel the swatch.
Gauge Swatch
When you have yarn and needle in hand for a specific project, it’s time to put it to the test. Use the pattern’s gauge instructions to make a gauge swatch. This is the process of knitting a square of fabric that tests whether or not your yarn, needle, and tension create a fabric that matches the designer’s intent. In the case of the Cloud Sweater, this was 17 stitches and 26 rows in Stockinette stitch that should measure 4’’ x 4’’ when blocked.
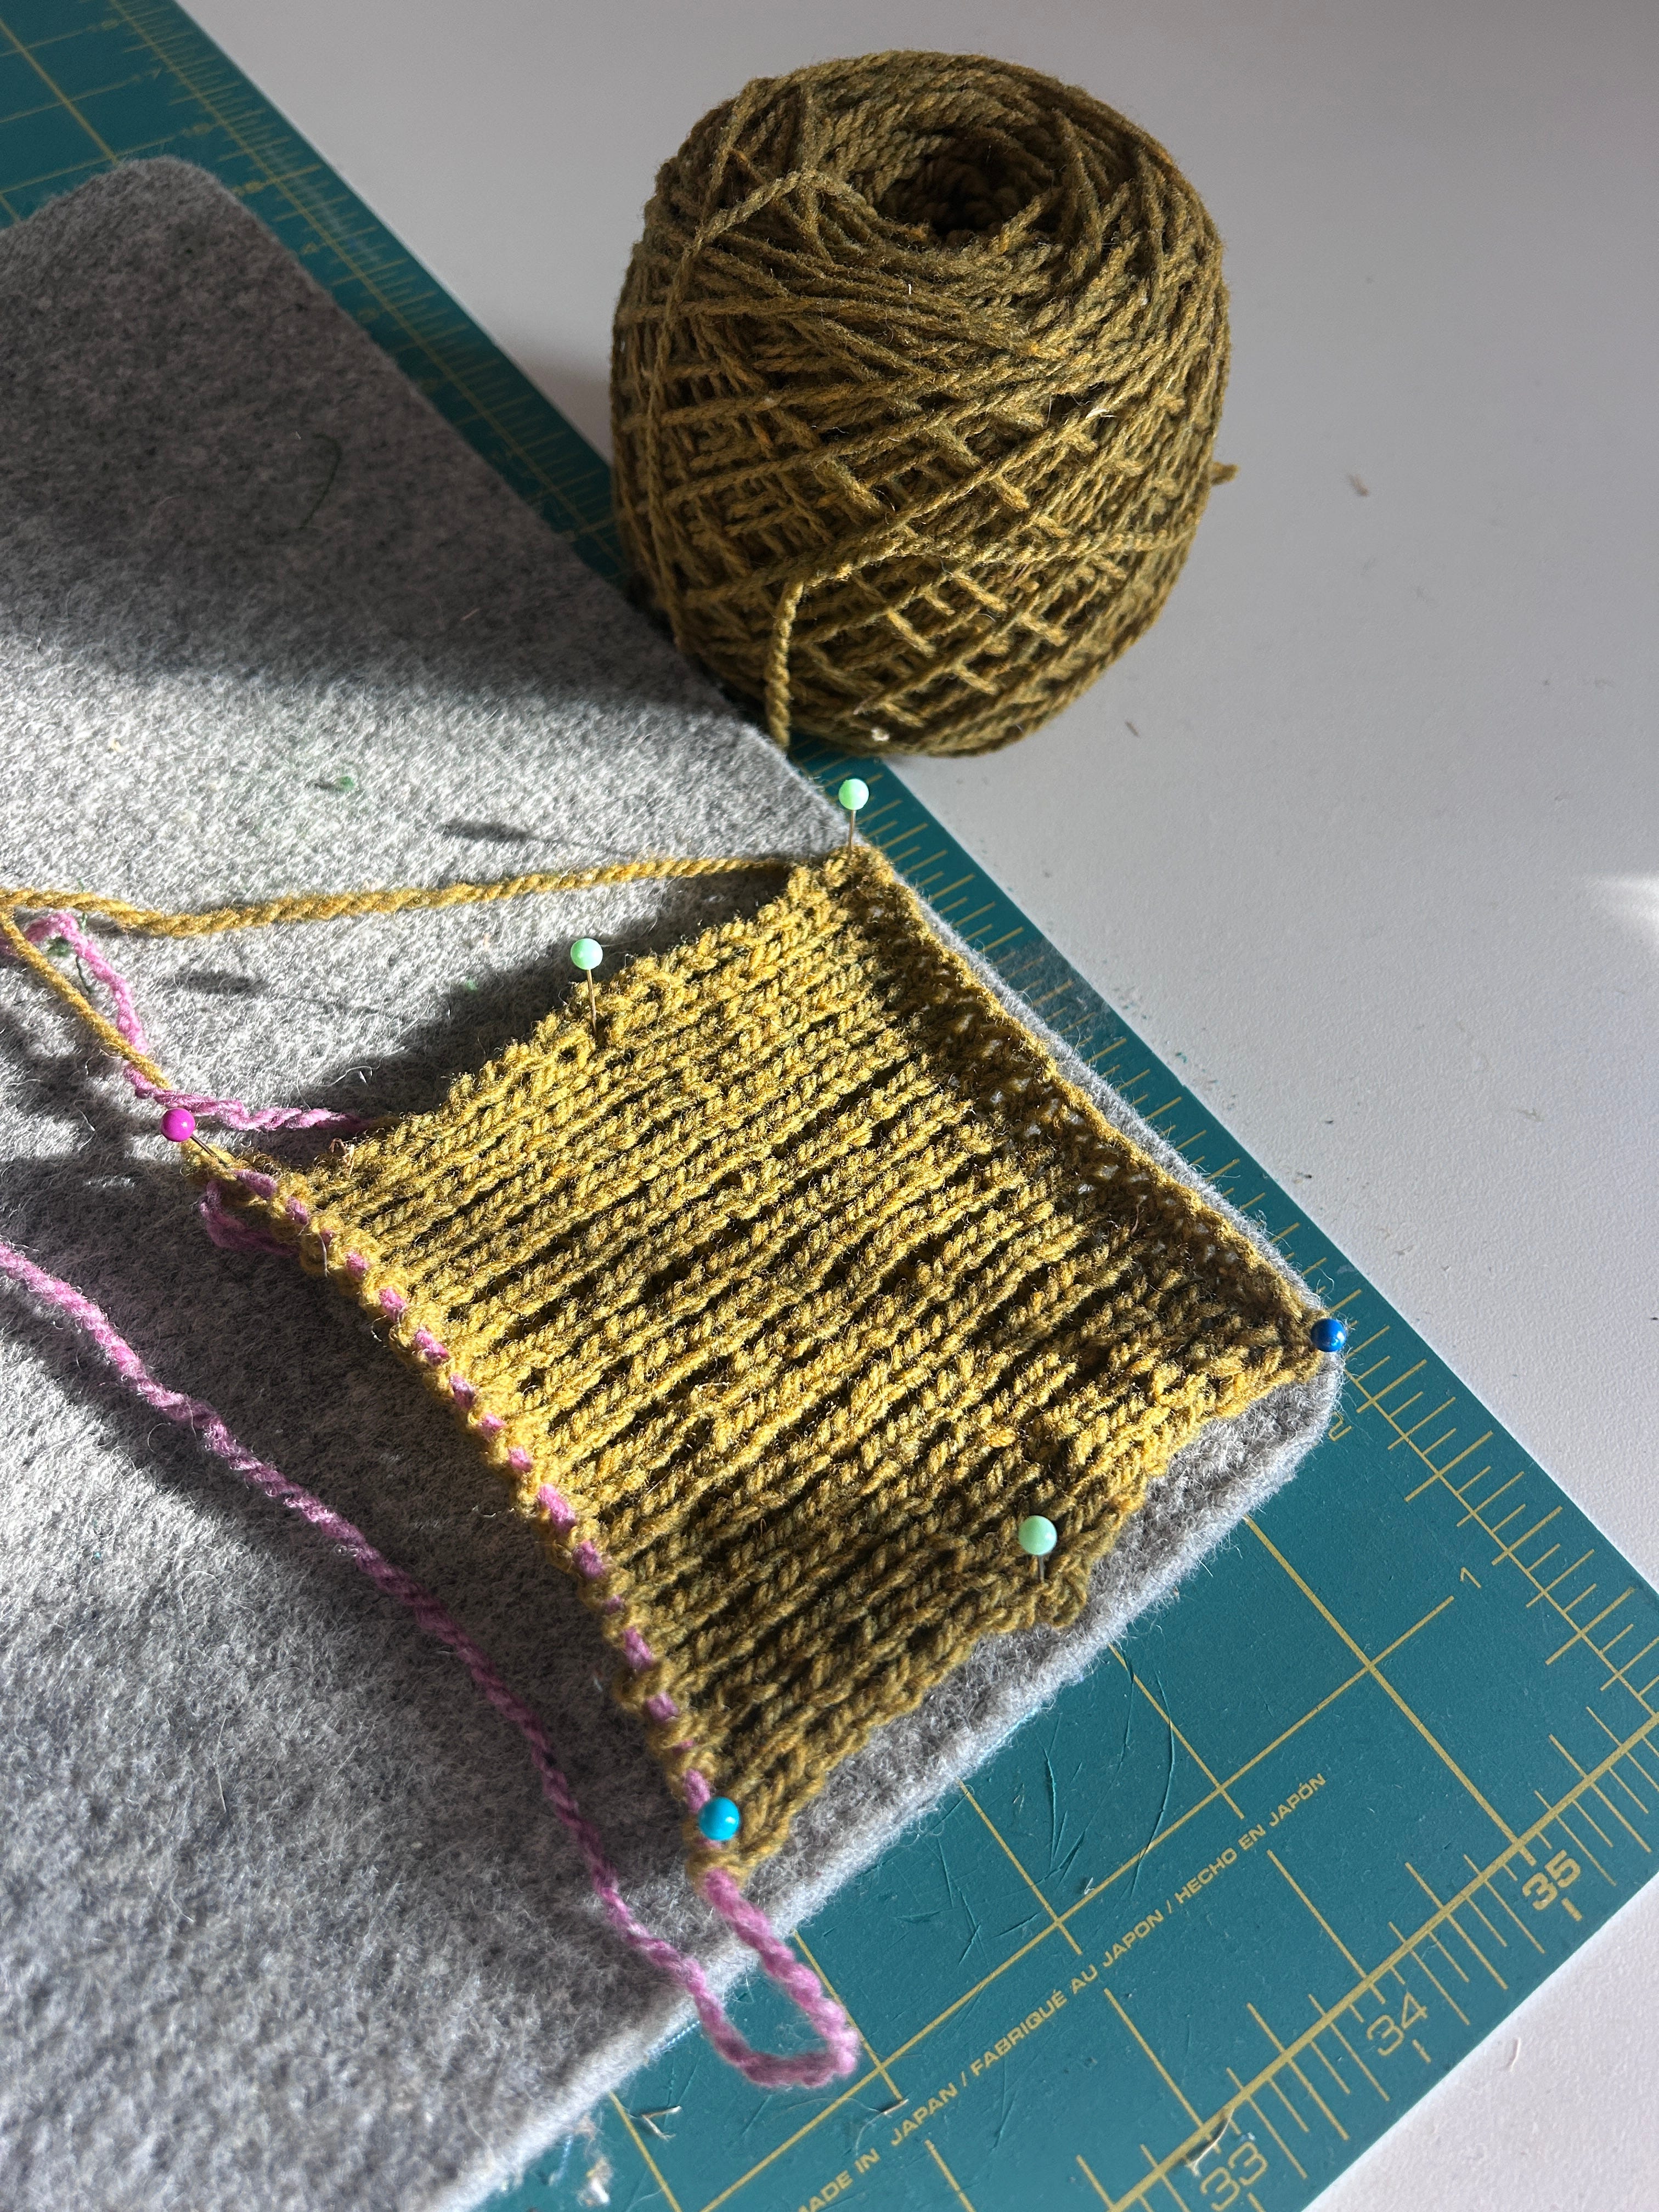
So, cast on 17 stitches and knit 26 rows of Stockinette stitch (knit one side, purl the other). Then, block the swatch,* and measure it. Does it match (4’’ x 4’’)?
If so (or if very close), you’re ready to start your project! If not, you need to make adjustments or your project may not fit right! You could be knitting very tightly or very loosely. You may need to go up or down a needle size. And, worst case, you may need to use different yarn. Try the other fixes with more swatches before deciding that!
*I never block my swatches! I’m too impatient and don’t want to waste any yarn. So, if my swatch looks correct off the needles, I go for it!
A First Project
There are two projects I’d recommend to start: a scarf or a beanie. See Beginner Resources (below) for more on finding patterns.
Scarves
A classic scarf, a.k.a. a long rectangle is probably the easiest beginner project! You can look up an easy pattern that combines knits and purls in an interesting way, use an alternating pattern of knits and purls (like my WIP rib scarf), or use stockinette stitch to knit one side and purl the other. An easy way to make this more interesting is to make color blocks! It requires no increases or decreases or anything else.
A cylinder cowl is another easy version of a scarf you could easily take on! Cowls are knit in the round, so you actually wouldn’t have to purl unless your stitch pattern calls for it since knitting in the round means always knitting on the right side of the work. Knitting the whole time is probably the easiest form of knitting: the beauty of knitting in the round! It still uses no increases or decreases.
Scarves that are more like a shawl or bandana are very popular, and I’d still call them beginner-friendly, but they’re the most difficult of these options because they introduce increases and decreases. They are knit flat with knits and purls, and if you feel ready to practice more skills, you could definitely go for it!
Beanies
Beanies are a very popular beginner project. They are knit in the round with decreases. So, no need to purl the back side of the work, you only have to learn to decrease (no increase), and often a folded hem introduces basic ribbing (alternating knits and purls).
Madison’s Advice
Training the Eye & Hand
I’m usually one to jump into a big project, but with knitting, there’s real value in getting a couple beginner-friendly projects under your belt. This isn’t because the skills you need for a harder project are that much harder. It’s instead that those beginner projects will train your eyes and hands in ways that will make future projects much more successful!
Get comfortable with the motions, build the muscle memory, and make your stitching more uniform. You won’t regret it! You projects will be so much more even and smooth. You will also learn to “read” your stitches; it’s extremely valuable to know whether a previous stitch was a purl or a knit by looking at it.
Winding Yarn Balls
For a reason I don’t understand (visibility?), yarn is often sold in skeins that are impossible to knit from. If you pull a loose end of thread from the skein, you’ll soon have tangles and knots in the yarn that could make you quit before you begin. Instead, you have to wind the skein into cakes or balls. If you purchase from a local yarn shop, they might even wind the yarn for you! If not, you can do it by hand, or you may eventually want to invest in a swift and winder which can quickly wind yarn balls.
Corded & Interchangeable Needles
I suggest always buying corded needles—the needles you need for knitting in the round. You can knit flat on them (though depending on the length of the cord, it can sometimes be annoying). You can also buy cords of different lengths that you can then interchange the needle tips on. This saves you having to buy as many sets! I like bamboo needles and usually buy Clover brand needles (though really, I would buy any wooden needles!).
Beginner-Friendly Yarn
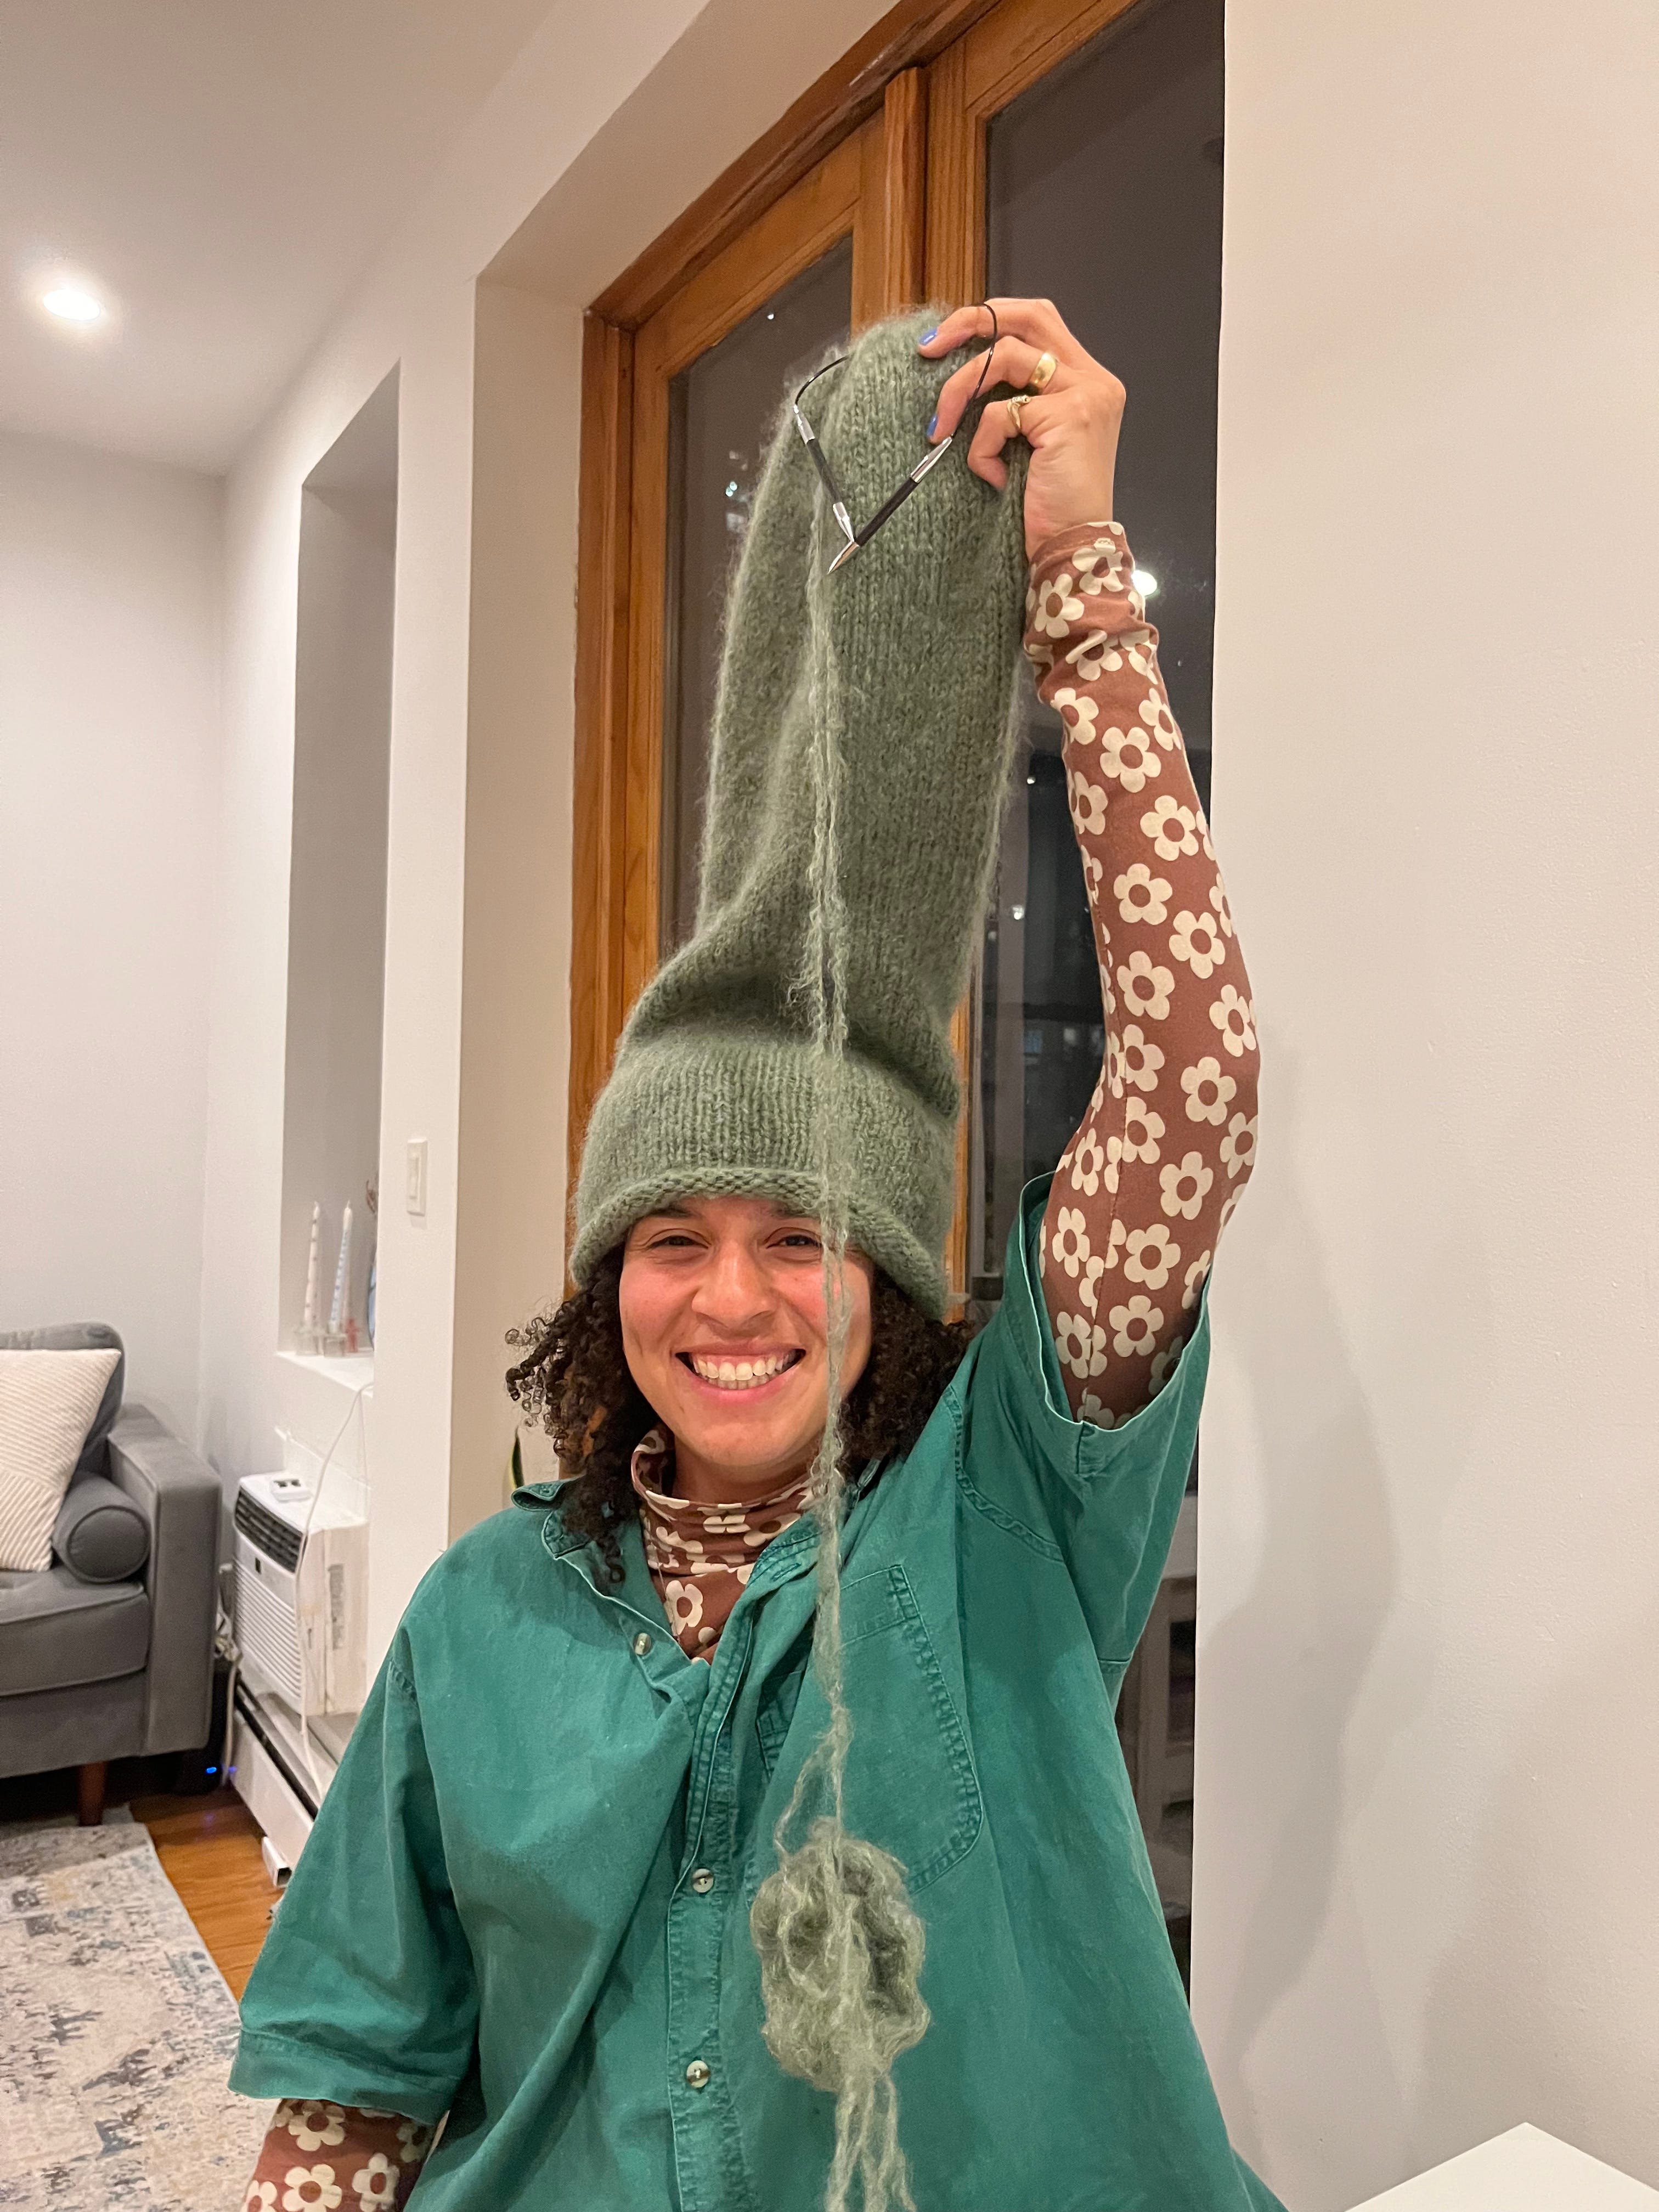
Beginner-friendly yarn is yarn that makes it easy to see your stitches! I once introduced my friend to knitting with a beanie she was excited about (pictured above!). Good choice, right? Except, it was knit with long-hair mohair—which is like knitting with a ball of fluff! It was so hard for her to see her stitches! Less fuzzy yarn will be much easier!
The Mistake To Avoid
The one error you really want to avoid is dropping a stitch. This happens when one of the stitches falls off the tip of the needle. It will unravel down the whole column of the piece! It can be fixed, but that’s tricky too, and it’s best avoided. Don’t leave your stitches dangling near the end of the needles, and take care to keep them all in place. They also sell needle caps if you’re going to travel with your knitting.
Beginner Resources
✷ Ravelry: Make an account on Ravelry! This is a knitting database with yarns, patterns, and other people’s projects all in once place! It’s a valuable source of information, and a way to save patterns you want to knit, build a stash, and record your own projects if you want.
✷ I’d recommend checking out Petite Knit for beginner-friendly and popular patterns. But, there are SO many awesome knit designers—explore Ravelry and Instagram!
✷ When I need to look up a stitch tutorial, I love Purl Soho and Tin Can Knits. Clear instructional photos and text to make things easy! (I have to look up many common increases and decreases every time).
✷ There is an extremely vast range of yarn producers out there, and once you start knitting, it’s so fun to discover new indie brands through other people’s projects! The same is true of attending a yarn show/fair or your local yarn shop. If you can go shop in-person, you absolutely should. But, if you’re shopping online and looking for a place to start, check out Knitting for Olive and Knit Picks.
This is a great piece! I have sent it to friends I’m trying to encourage to knit so we can knit together hehe xx
I also like to learn new arts. I have stuck mostly with adjacent ones as there is a lower barrier for entry with some tool overlap (so mostly fiber arts for me). Most recently is rigid heddle weaving which I then used (after a few beginner projects) to make cloth I was able to sew into a jacket! Sometimes you have to remind yourself your new things aren’t going to be as good or complex as the thing you’ve been doing for years. But it is so much fun to see improvement with each project.